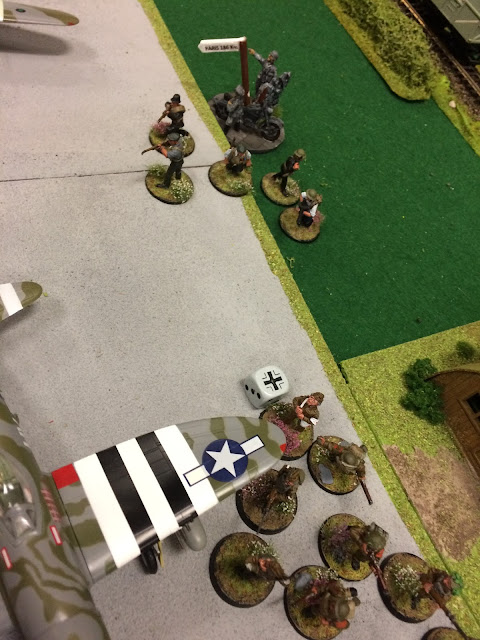
For this event, my usual opponent Chris Carr had put together an early war British force, and also to to face my early war Heer, but his army morphed into a Home Guard force. Having been gifted a 4.5ft submarine (courtesy of Tim Haslam via Rich Humble), I started a brand new force to "invade" England and also outdo his naval patrol complete with "truck"...
So we rolled up to Birmingham with neither of us expecting to do well, given the lack of quality in our forces but both would be good for a laugh...
Mike and Jules put on an exceptionally good event, complete with a wee goody bag and even had a cake for their fifth event. With 16 themed tables, its always great and well attended, as it tends to sell out within the hour and has a good mix of new and experienced players. With a twelve dice cap, it is fun and friendly, with no overly "bad" lists showing up. If you are interested in going next year, join their FB group for advance notice, even if its a year off you won't regret going!!!
https://www.facebook.com/events/926571527512172/
My force for the weekend is below:
Veteran 2nd Lt + 1
Veteran Captain
Veteran medic plus 2 gravediggers
Inexperienced MMG team
Inexperienced Flak 36/88 AT Super Heavy AT gun (with spotter)
Inexperienced horse and limber tow
10 Kriegsmarine with 1 LMG and 2 SMG's
10 Kriegsmarine with 1 LMG and 2 SMG's
10 Kriegsmarine with 1 LMG and 2 SMG's
10 Kriegsmarine with 1 LMG and 2 SMG's
10 Kriegsmarine with 1 LMG and 2 SMG's
10 Kriegsmarine with 1 LMG and 2 SMG's
First Game: Meeting Engagement v Brett Dawson (US 29th Infantry Division)
The table was a ruined hamlet, with plenty of hard cover. Despite that, I wasn't optimistic given it was a game of attrition...
Brett's all regular US infantry force consisted of:
1st Lt plus 1
Forward Air Observer plus 1
9 GI's with 2 BAR's and 1 SMG
9 GI's with 2 BAR's and 1 SMG
9 GI's with 2 BAR's and 1 SMG
9 GI's with 2 BAR's and 1 SMG
Sniper team
Bazooka team
Medium Howitzer
Sherman M4A2 (cancelled easily catch fire)
While Brett had not played a game of Bolt Action prior to this, he knew the game from YouTube and also playing Gates of Antares. Oddly enough, Brett and I had been chatting the previous week on social media, so it was good to meet and play him.
With nothing on the board, TURN 1 was brief with the Sherman putting a pin on a Kriegsmarine unit near the 88. Brett spread his 4 units out across the board, while I concentrated on my centre and right, aiming to keep the centre occupied while running a right hook...
Turn 2 The US Air Observer called for support, but the British air swept by (Skies are clear rolled)
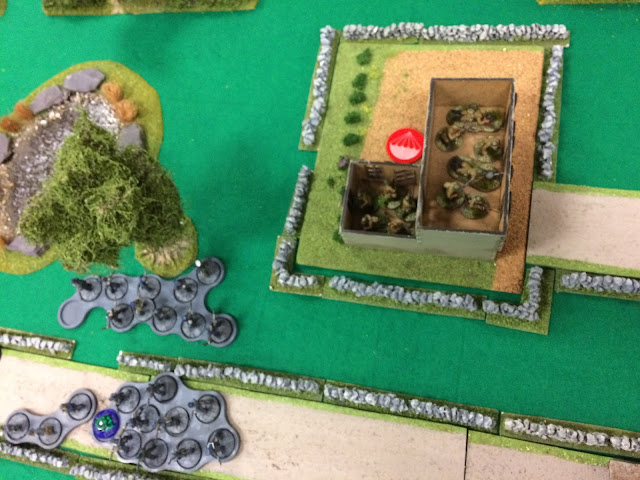
Start of turn 2, my forces prepare to advance
Brett's forces on turn 2.
Turn 3 below, with air strike coming in centrally and strafing a Kreigsmarine unit that hit the deck, only losing 4 men but liberally spraying pins around. The medic ran up the right with 2 units of sailors to get rid of the Air observer, while the Sherman pinned the 88... As with turn 2, long range fire proved ineffectual for the Germans, and only a few sailors died to the US return. Brett also did advance and next turn fire will be close range...
My 88 hit the Sherman... But only scored a glancing hit, setting it alight. Alas, with the easily catches fire rule cancelled, Brett just managed to pass his morale check.
The US advance to close range, with 3 of their squads taking on my 4 central squads...
A howitzer shot hits, as does plenty of rifles and what with the air and Sherman, my 4 x 10 Kriegsmarine centrally now are 4, 8, 6 and 6 strong respectively... On the right, both full strength squads have taken out the air observers assistant
But the Air observer isn't for shifting...
Turn 4. Oh the irony of British Air support bombing the Americans... Only one hit on the Sherman, which failed to damage it but it was up to 5 pins now and with the bomb being a template now, managed to take out 3 GI's nearby...
With pins all along the US line, my brave sailors push on. I lost my left most unit, and would soon lose my unit that advanced out the ruins as the Sherman rallied an lost all 5 pins... However, the air observer was trampled underfoot!
Turn 5. I had hoped to assault the Sherman but as it had rallied I then concentrated fire put the GI's nearby up to 7 pins. I lost the 88 to the howitzer and the GI's centrally wiped out my two units in the field.
Alas, the 7 pinned GI's rallied with a double 1, losing 2D6 plus 1 pins, i.e. ALL SEVEN!!!
I charged the remaining forces in and sorted them the old fashioned way but the remaining turn saw me shed men and dice and end up losing nine units to four... Solid Win for Brett and his GI's.
GAME 2: John Randall's Soviets in HOLD UNTIL RELIEVED
I was drawn against a frequent opponent from previous events, John Randall with his Soviets. Now oddly enough, I always get lucky against John and he hates my dice rolls. So given my inexperienced list, he'd never get a better chance to avenge himself on me, his jammy nemesis... We'd even joked about this online in the preceding week. We rolled to attack/defend, and I won. Given the number of imexperienced units I had, I opted to attack and try shifting John's two units from the house so as to avoid rolling for reserves.
From memory, John had the following.
2nd Lt plus 1
Free Inexperienced 12 man unit
Inexp 10 man rifle squad
Inexp 10 man rifle squad
Regular 6 man LMG squad with 1 smg and 2 x LMG's
6 regular tank riders with 6 smgs
Veteran Sniper team
Regular 4 man AT squad with 2 SMG's
Regular 4 man AT squad with 2 SMG;s
Zis 3
T-34/76
Katyusha
John put his tank riders in the small backroom of ground floor, and his LMGs on second floor of main farm, both contesting the red para disc objective in the rear garden.
With everything of mine 18" away from his units, and all on board bar the 88 and tow, I deployed with two units at John's edge to hinder his reinforcements, while I deployed 2 units either side of the farm with an officer to assist each and an MMG near the captain.
TURN 1 (End of)
To summarise turn 1, John got first dice and advanced on the Katy, targetting my captain but missing him while annihilating a whole unit of Kriegsmarine and the MMG... Oh dear!!! He also brought on the T-34 and inexperienced rifle squad and an AT team which forced the Kriegsmarine in the woods down but didn't save them from casualties... Elsewhere, my forces ran for the house, or advanced in hard cover. The 88 came on to cover the road...
Below, turn1 casualties for my U-boat crew
Turn 2 The remaining unit in the wood is about to be charged by the Reds, and while I killed 4, I was wiped out...
My other unit near John's board edge stay on ambush...
A better view of John's Holding units in the farm, with my Kriegsmarine units close in from the left, with medic and 2nd Lt to support...
The Captain and remaining unit on the right advance ready to assault the farm, while the 88 I torn between putting an 88 shell down the road at soviet vehicles, or an HE round throught the top floor window...
Poor fire from the Soviet LMGs only kill half the Kriegsmarines advancing down the drive
A god view as the crew close in, with Soviets reinforcements unchecked on the road side. The cart on the road is just scenery...
The Soviet Lt rallies his forces to advance...
My forces face an uphill struggle in taking the house...
A 10 man squad remains off board as the two AT teams with Lt and sniper advance up road...
My forces top left have been engaged by Inexperienced Soviets, who trigger an ambush but steel themselves and become "regular"
TURN 3: First dice is mine, and its all hands on deck... 10 Inexperienced sailors, hitting on 4's with 1 reroll if I hit v 6 Soviets hitting on 3's all with rerolls if they hit. Well, its the way I roll them...
Despite losing 7 men, I managed to wipe out the tank riders so won the combat and took the kitchen.
The Medic and men, with 2nd Lt and assistant also advance up... Sadly the unit on the road, with a pin failed to move...
Below, my casualties by end of turn 3... My left delaying unit go wiped out by the "regular" Soviets...
Still turn 3, as the Soviets roll on, but the delayed 10 man unit still didn't show up. My 5 man unit from the right had ran into the ground floor, after the captain had been riddled with lead by the LMG squad upstairs. The 88 was heavily pinned by the advance having failed to hit the building twice.
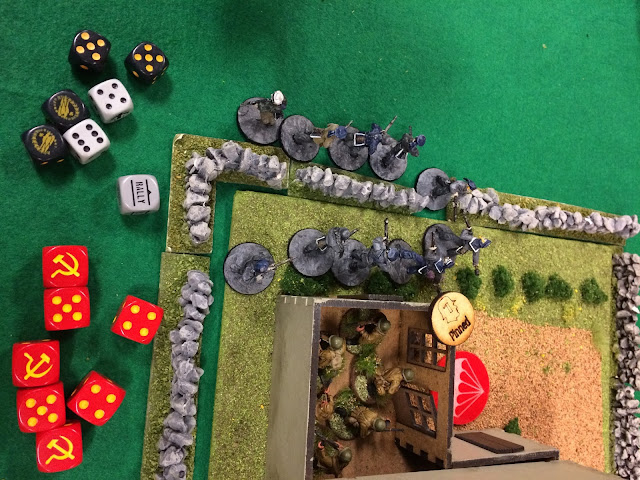
TURN 4 First dice was mine again, and I was desperate so the remaining 5 men charged up stairs, to emulate their shipmates. 5 dice requiring 4's, with 1 reroll possible, v 6 dice on 4's with 1 reroll...
And the dice below tells you why John loves facing me... Still, he could now fire the Katyusha without fear of any accidents!!!
The T-34 poin blanks the 88, reducing it to 3 men but the lads don't run... The 10 man reserve unit turns up and runs up the road, as does the sniper. My victorious 3 men from the kitchen advance into the main room downstairs, while the "regular" Soviet advance at pace to my left, crossing the stream...
But turn 4 has me in control of the objective, if I could hold on for two more turns...
But with 17 sailors from my 60 man worth of units, may prove a difficult ask...
TURN 5 Dice is with the Soviets, and with 4 pins on the 88 and 3 men left, John charges his SMG officers in to finish them off... 3 plus with rerolls v 4's from me. after he has finished. Apparently as well as being lucky with my dice, I suck out my opponents luck too!
The T34/76 was oblivious to the 88 shenanigans ( or thought with 4 pins it wasn't up to much) so advanced down the road and added a pin and killed more sailors. Fortunately, not enough to force a test as I took the fire.
I advanced the squad over as John ran his "regulars" up to contest...
On the right, the free inexperienced remnants ignored the house and went after the 88, as the other units advanced/ran towards it. The Katyusha targeted the house sitting squads, but only managed to inadvertently kill the medic and assistants. One of the AT teams is reduced to one man from the Kriegsmarine LMG upstairs, before the sniper took him out. The 3 men downstairs then killed the snipers assistant
Turn 5 end and I'm still there with me fingernails...
But I cannot hold off this lot can I?
My upstairs squad reduce the 4 man AT to a sole NCO, trying to help the 2 guys downstairs survive any assault. The other AT guy SMG's the building, killing one and forcing me to test which I fail. The 88 is charged and wiped out, and the 10 man squad run up the drive unopposed as the zis 3 clears the top floor. My 5 remaining sailors fail to motivate to charge the left regulars, but the 1st Lt puts a pin on and kills 1...
Fair play to John, he could hold position for a draw but assault my 1st Lt plus one with 4 men (only rolling 3 dice as one has a flag). With my officers being Veteran, he needs 5's and fluffs it...
End of turn 6. I have a 2nd Lt plus 1, 5 men pinned down by a T34 and a horse and limber up the road to my left... But the game ends, and I somehow won...
That's all I have left...
And that's what I lost...
Like I said, fair play to John. He played like a gent despite my dice spawniness and he took the subsequent mickey taking well. Sooner or later he is going to own me big time in a game, cos his luck HAS to change...
GAME 3 v Chris Carr's Home Guard playing the 5 objective one...
Yay, designed my list for this match-up (at home) and hadn't played it on account of Chris being a better if slower painter...(Happy, it's in print now). On account of John's (dice) letting me get a win, Chris and I had ended up at a similar points after to games...
Chris's army was a right hodge podge, as you would expect for the Home Guard circa 1940. All this is taken from Sea Lion book
1st Lt +1
Volunteer section- 10 men (inex)
Volunteer section - 10 men, lewis gun (inex)
Urban militia- 10 men, 2 shotgun, pistol, rifle, blunderbuss
Boy scout, (leader and 3 scouts) (inex)
Walmington-on-sea platoon (regular)
Cpt Mainwaring, Pike, Frazer, Godfrey, Jones, Sgt Wilson, Walker
5 extra men,10 rifles , 1 smn
Royal navy squad 10 men , lewis gun, 9 rifles Veteran
Auxillary unit sniper
Boyes Anti tank (reg)
"Truck" with MMG (reg)
Smith gun (reg)
Vickers MKII light tank
Vickers MKII light tank
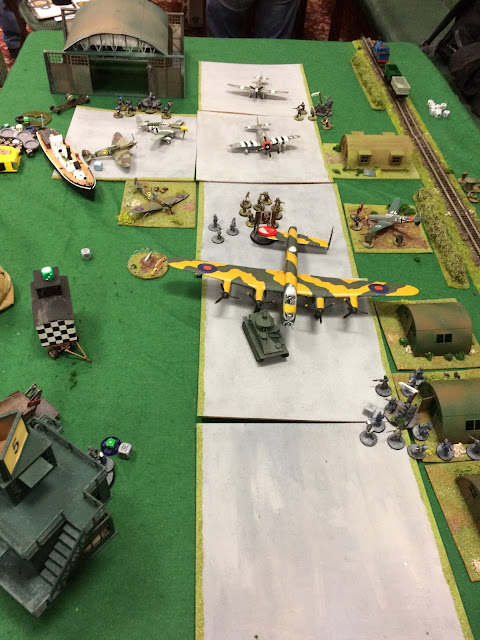
The 5 objectives were placed by the door of the hangar, and opposite, the rear of the Lancaster, the front of central Nissan hut and by the front of the control tower...
The mission called First wave or reserves, I elected everything first wave while Chris kept his Navy in their truck off to flank...
I ran a unit by the hangar, which faced off against Mainwarings squad and the Smith gun. Centrally, 2 squads and the medic v 2 militia squads and sniper and a unit by the control tower v Police and boy scouts...
A better overview...
The Police have come to arrest the submariners....
Meanwhile, Big Bob and his troop of Scouts run up my extreme right...
Captain Mainwaring, Corporal Jones and the lads struggle to hit the Germans at long range...
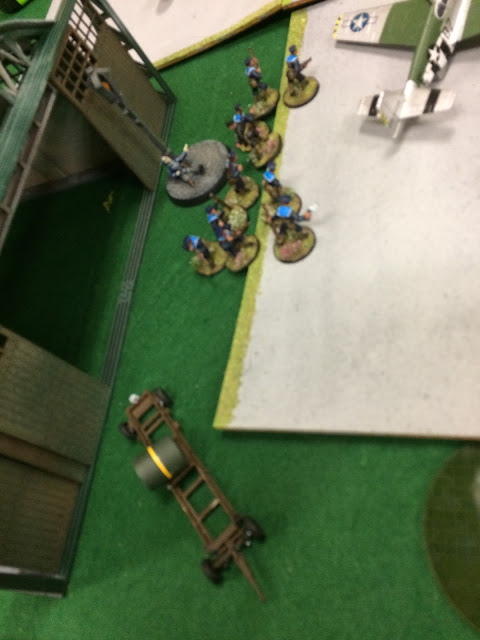
The 88 and limber come on with a good field of fire down the air strip...
The Bobbies and militia along with Boyes At rifle deploy on my right too, facing down the barrel of the 88...
Captain Mainwaring's platoon have support from a local militia unit and a quaint little tank with an MMG...
Which it put to good use on my extreme left, gunning down some of my inexperienced lads in the open...
Turn 2 Chris advanced his Vickers MKII and killed more of the exposed sailors... They wisely then ran through the open hangar to avoid the little monster, where the MMG and another squad secured the objective. The MKII's advance had put it out of sight of my 88.
Centrally, I had 3 units looking to support either flank and take the centre objective.
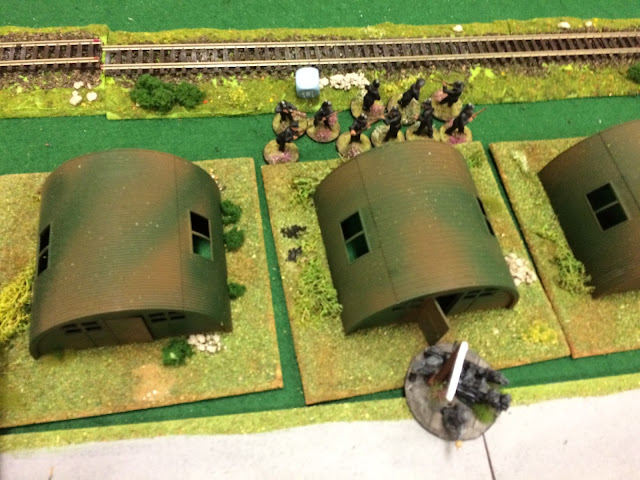
The advancing Police unit, whistles blowing and truncheons waving advanced straight into a High Explosive round from the 88, wiping them out. (They were somewhere between the Nissan huts)
The inexperienced Germans were causing long range casualties and pins, while the British (with the exception of the tank) were struggling to even hit the Germans... On my extreme left, the Scouts explored behind the big hedge, looking for blackberries or something while the battle for the airfield carried on...
The objectives on my right looked exposed now...
The heroic 2nd Lt and aide from the previous game, advanced and killed a boy scout... well, sneaking about in bushes during a battle is not a good idea!!!
TURN 3
I got the first dice, and decided those do-gooders on my right had to go, so the 2nd Lt went in and wiped out the kids... Well, I am playing the bad guys! The second dice saw me roll a first shot indirect hit on the right urban militia, killing 70% of the squad but they held their nerve... The sniper and British Lt advanced over to give morale support. However, the centre right Kriegsmarine squad barrelled into them, losing few on the way but finishing of the civvies...
Concentrated fire reduced the other militia squad, and by the end of turn 3 I had far more men, and the dice luck had carried on from game 2... He hadn't even killed a man with his sniper yet!!! Still, Chris knew what to expect as he hates my Fallschirmjager dice of old!!!
Turn 4 saw me taking more tank shots, and exposed my lack of AT
Centrally, two full squads advanced on the objective with the medic in close attendance. However, behind the large left hanger, the veteran navy squad showed up...
Still on turn 4 despite the dice, and I still had the upper hand I thought... The Captain had kept a low profile due to snipers on the field, but that would have to change as Chris's dice did!!!
The centre was still mine, but the unit I had holding the control tower ran for the far side of the strip, to take out the AT rifle and secure the objective there...
The Urban militia stayed down, and Mainwaring rallied off their 3 pins, while the British navy advanced through the hangar and wiped out my left hand sailors
The navy boys aren't on the tarmac, they are in the hangar marked by the lad on the roof. The tank was causing real problems and my left objective was looking highly fragile...
. The sniper finally nailed the MMG team, and the Navy "truck" behind the hangar...
Still secure in the centre though. But hope I can hang on
Turn 5 saw my left objective fall to the shore patrol.
And my centre two units suffer at the 3 MMgs on the Vickers MKII (It has 2 rear ones two, that sneaky Chris). Admittedly, he was only rolling 4 dice for the front one for the first three turns, I should have pointed it out sooner had I realised but I suppose that's karma...
Still, the British are about to lose their objective with my squad ready to charge out and take the AT team out. The 2nd Lt also ws about should the AT rifle skulk out the way. Also, as karma continued, the Smith gun dropped a shell on the 88, killing four and causing the crew to run away despite the proximity of the Kapitan...
The British got their act together this turn, with the urban milita moving over to secure the British right objective freeing the Warmington bunch up to advance towards the centre...
The British navy are caught between nursing the objective or advancing towards the centre.
Mainwaring' platoon had to advance at Godfreys pace...
I have the other right objective...
The boat/truck advances and adds to the tanks MMG's
Turn 6 and its all about holding on for a draw now... We both have two objectives, but the centre is contested...
The captain is happy with his objective as he's been at sea a long time...
However, the tank advanced and killed my 2nd Lt, while its rear guns allowed Mainwaring to win the game... "Bloody Napoleon"!!! Doktor Myopic advanced to trade bandages with godfrey...
The militia with the British right objective
And the final view of the field. Top left and top right are held by the navy and militia respectively, while Warmington on Sea took the centre. I held the control tower and centre of three Nissan huts. It was definitely a game of two halves, with my numbers counting for nothing v the tank in the last few rounds and the Brits getting their dice back...
And so to the end, I was happy to have won a game and Chris did quite well finishing in the top half, 13/28 whereas I was 23/28...
As usual, a great days gaming at To Hell and Back. Three great games and three great opponents. While I missed the first one, been to last four and plan to be at the fifth.


