Chris would use a British North American Militia force, to "rescue" a lost merchant whose wanderings had led him into the clutches of the Spanish Militia.
We each had a 200pt force.
Chris Carr's Colonial Militia (all trained) 34 models
Benjamin Church
3 x 7 Indian Fighters
1 x 6 "Friendly" Warriors
1 x 6 Dutch Boslopers

So an all new force for him to master...
I used an all trained Militia force, consisting of
Experienced Militia Captain
4 x 9 Spanish Caribbean Militia
1 x 8 Lanceros
As always, numerical superiority with 45 men...
We set up a village board, with two bridges over a small river, then rolled scenario. It would be a Rescue, and the Spanish got to defend. The North Americans could enter from either long edge...

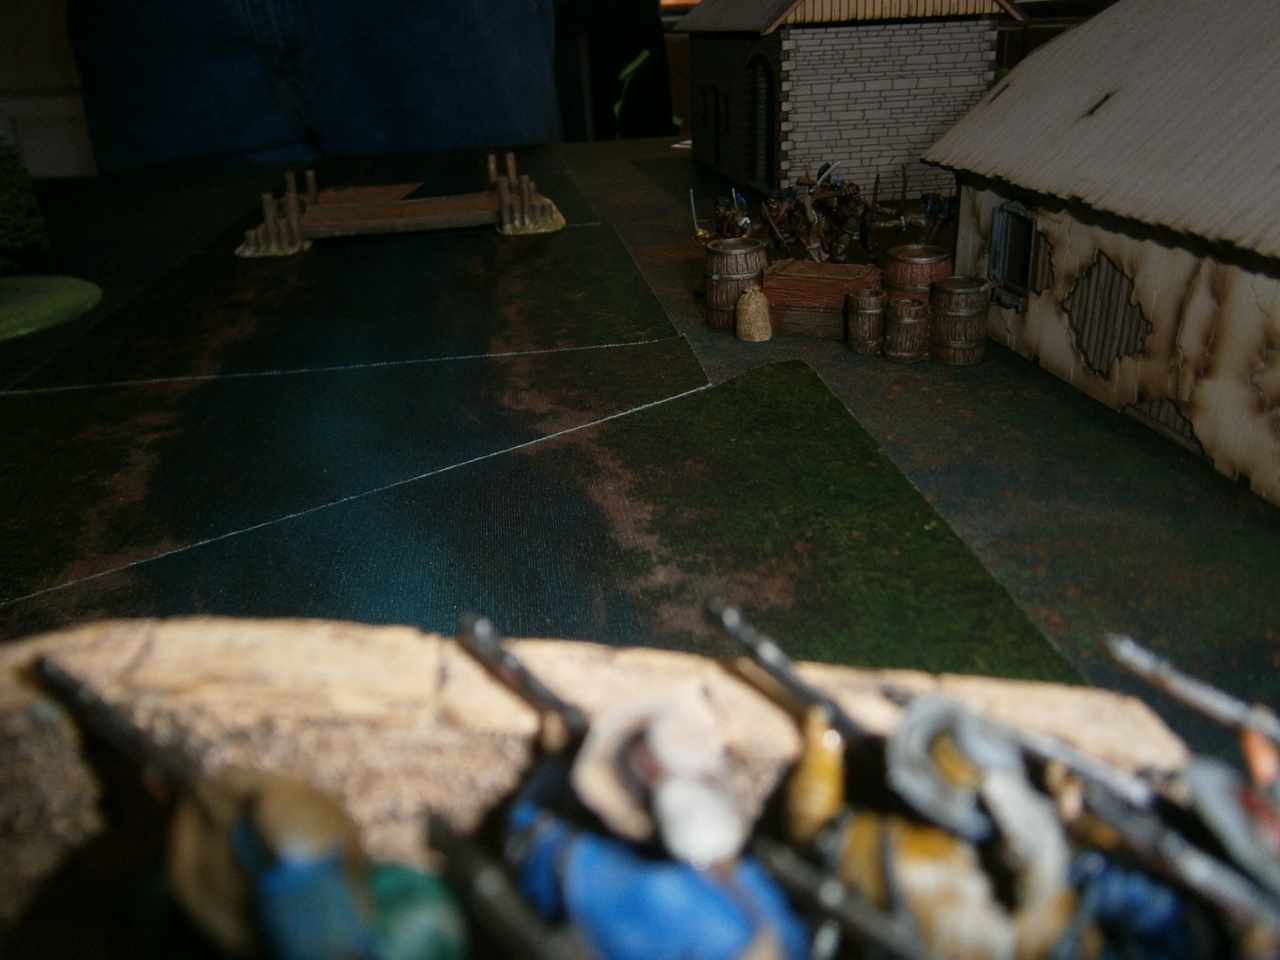
The left side of the village...

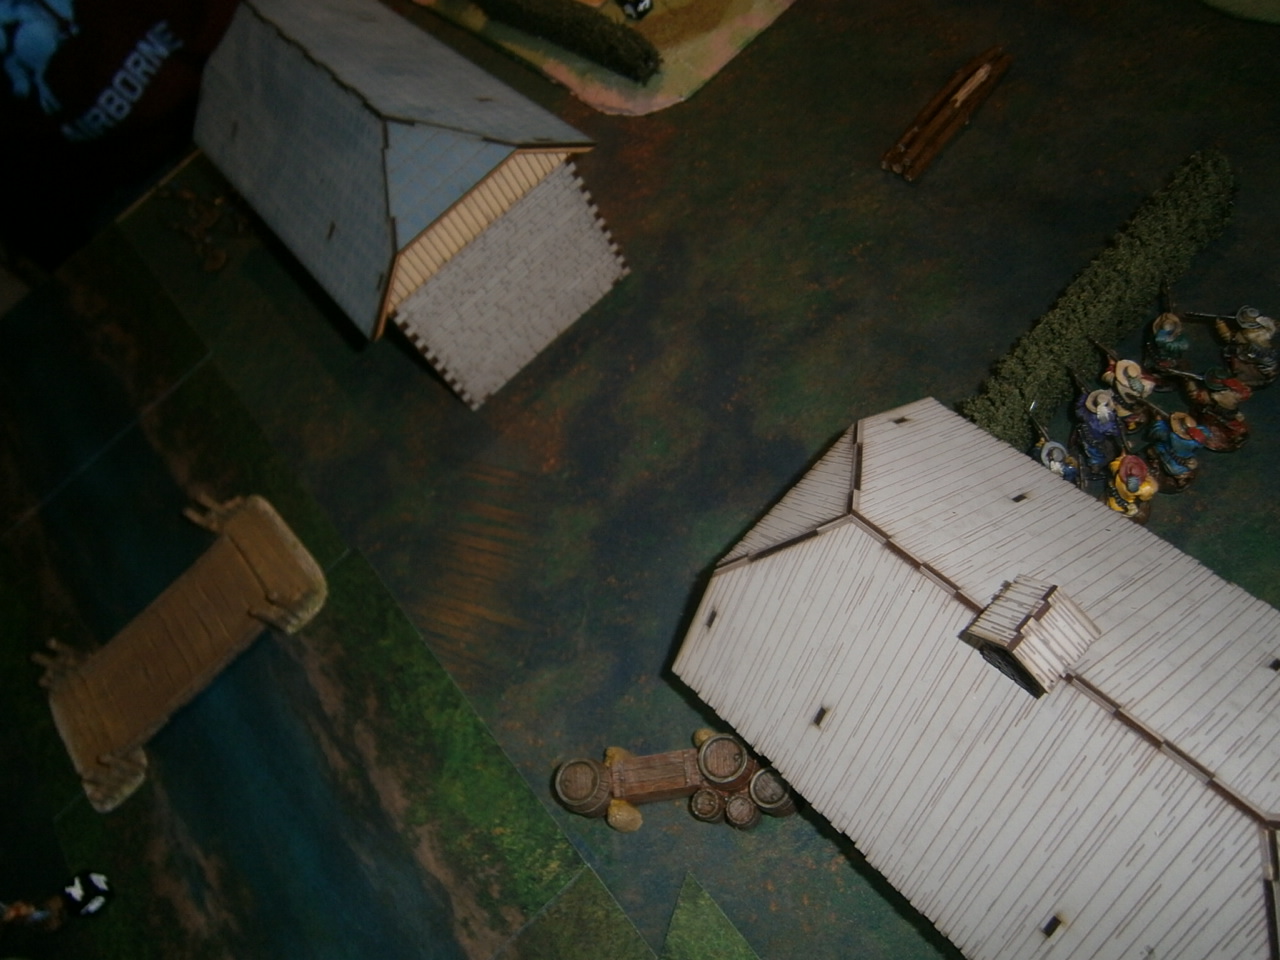
The right side of the village...

My Spanish Militia set up with the Lanceros and Captain in the centre, a unit on either bridge, one near the left farm and one in the right farm...

The Spaniards interrogate the English spy (or the lost English merchant in the red hat)

Benjamin Church and his rag tag bunch of colonials
The view down river from the stone bridge...

I decided to concentrate my forces on the left bank, and withdrew a unit from the plank bridge. The Warriors were first on from the Colonials, firing off a few arrows, but none found their mark.

The three units of colonial English group on my left bank, and my militia prepare to defend

TURN 2
The Boslopers had advanced up behind my left bank forces, so my guys on the stone bridge move to counter while my flagbearing militia enter the house with the high fence yard. Sure I had a plan when I did it...

The grouped English use the woods to cover their advance

Its all about manouvering at the minute, and as usual I'm being outfoxed...

So as not to forget where they hid...

On the other bank, one unit of Milicianos came out to fend of the Native American Warriors
The Warriors are pretty quick, popping in and out of cover...

First activation allows my flag bearer Miliciano unit to move out and open up on the English colonials, sadly dropping only one interloper...

Having taken some fire earlier, my Milicanos in the woods are racking up fatigue...

The Stone bridge guards have double timed it into the small building, to make the Dutch Boslopers think twice about coming in uninvited...

With the Warriors on my right not advancing, I ran my Milicanos over from the right towards the bridge, to double up on the interloper.

TURN 4
And its when the action heats up, and I forget to move (and mark) turns...
Having shrugged off some fatigue from the two casualties taken last turn, the Spanish charge in to the English.

In the garden too, the Spanish charge the Dutch...

The Milcianos trade muskets ineffectually with two English units, but are holding them up as the Merchant is marched towards the stone bridge at spearpoint...

While the Warriors outflank them...

So having both fired, and both fought melee, the Spanish 9 men are down to 4, and the English 6 drop to 4... But we both hold our ground!!!

Against the Dutch the Spanish lose 5 v 1, both dropping to 4 men...

TURN 5
Benjamin Church leads his tough Indian fighters up and at em…

Using command points, the Indian fighters attack the Milicianos

…driving the Spaniards back

The Spanish commander does the same, helping the Milicianos from the woods fall back while allowing the four men in melee fight the Dutch...

Surprisingly, they kill two and drive the Dutch back...

The Spanish manage to retreat in good order...

While the English have made a good advance, they stay in cover...

On their own activation, the four Milicianos go in against the Dutch, losing one on the way in, but managing to break them in melee...

A nice overview, following the heat of battle. The Spanish have managed to regain their composure, having taken an early strike point due to losing 25% of their force, but outnumbering the English meant the English got one too with the loss of the Dutch...

The colonials have been whittled down by a few musket rounds, and the weight of fire is now favouring the Spanish...

At long range. with numerical strength and in hard cover, the Spanish Milicianos are keeping the North Americans from closing on the left

But Chris has cunning plan...
TURN 6 (or 7)
The Warriors, having snuck up last turn (above) on my unloaded men on the bridge, leap the barricades and push on to the Milcianos…

However, the dice Gods laughed loudly, and Chris is out of fortune points as all the attacks miss!!! My commander and his Lanceros fall further back with their prisoner, as my diminished Milicianos barely hold on

Having wiped out one Miliciano unit, the Indian fighter on my far left push forward again to finish the trio of Spaniards the Dutch couldn't cope with, giving me a second strike point as my command was down by 50%...

THE NEXT TURN
6 Indian Warrior v 9 Milicianos. This melee could prove decisive, but who would get the drop with first activation???

I felt pretty good to land 12 Spades, but alas Chris hit me with the 13...

The Spaniards lost a man, but hit back killing two of the Warriors. Both sides held firm and the melee continued...

The Lanceros charge home and finish off the remaining left North American unit that wiped out two of mine...

THE LAST TURN
I got the highest card, and the eight Milicianos used their rapiers to cut down the Indian Warriors!!! This caused the English North Americans to exceed 50% and gain a second strike point...


Benjamin Church calls his men off, and they slip back over the border...

Well that was a close run thing and could easily have went awry for me at the battle on the bridge!!! So many little battles within the battle, it was so close but ultimately it was down to some lucky dice on my part and bad dice rolls on Chris's. Simply put, one on one the smaller units of the North American Indian fighters were better quality than the Spanish Milicianos. Fortunately, after realising this, I dropped my forces back and in cover, trying to force Chris to cross open ground. He did with his Native American Warriors, and he should have wrecked me, but I got lucky... Overall, I lost 23 of 45 men, while Chris lost 22 of 34. I also kept hold of the Merchant, sorry, evil Anglo-Dutch spy!!! He gave me an extra strike point (or rather cost Chris one), so the game, though still a draw, was a draw in favour of the Spanish...