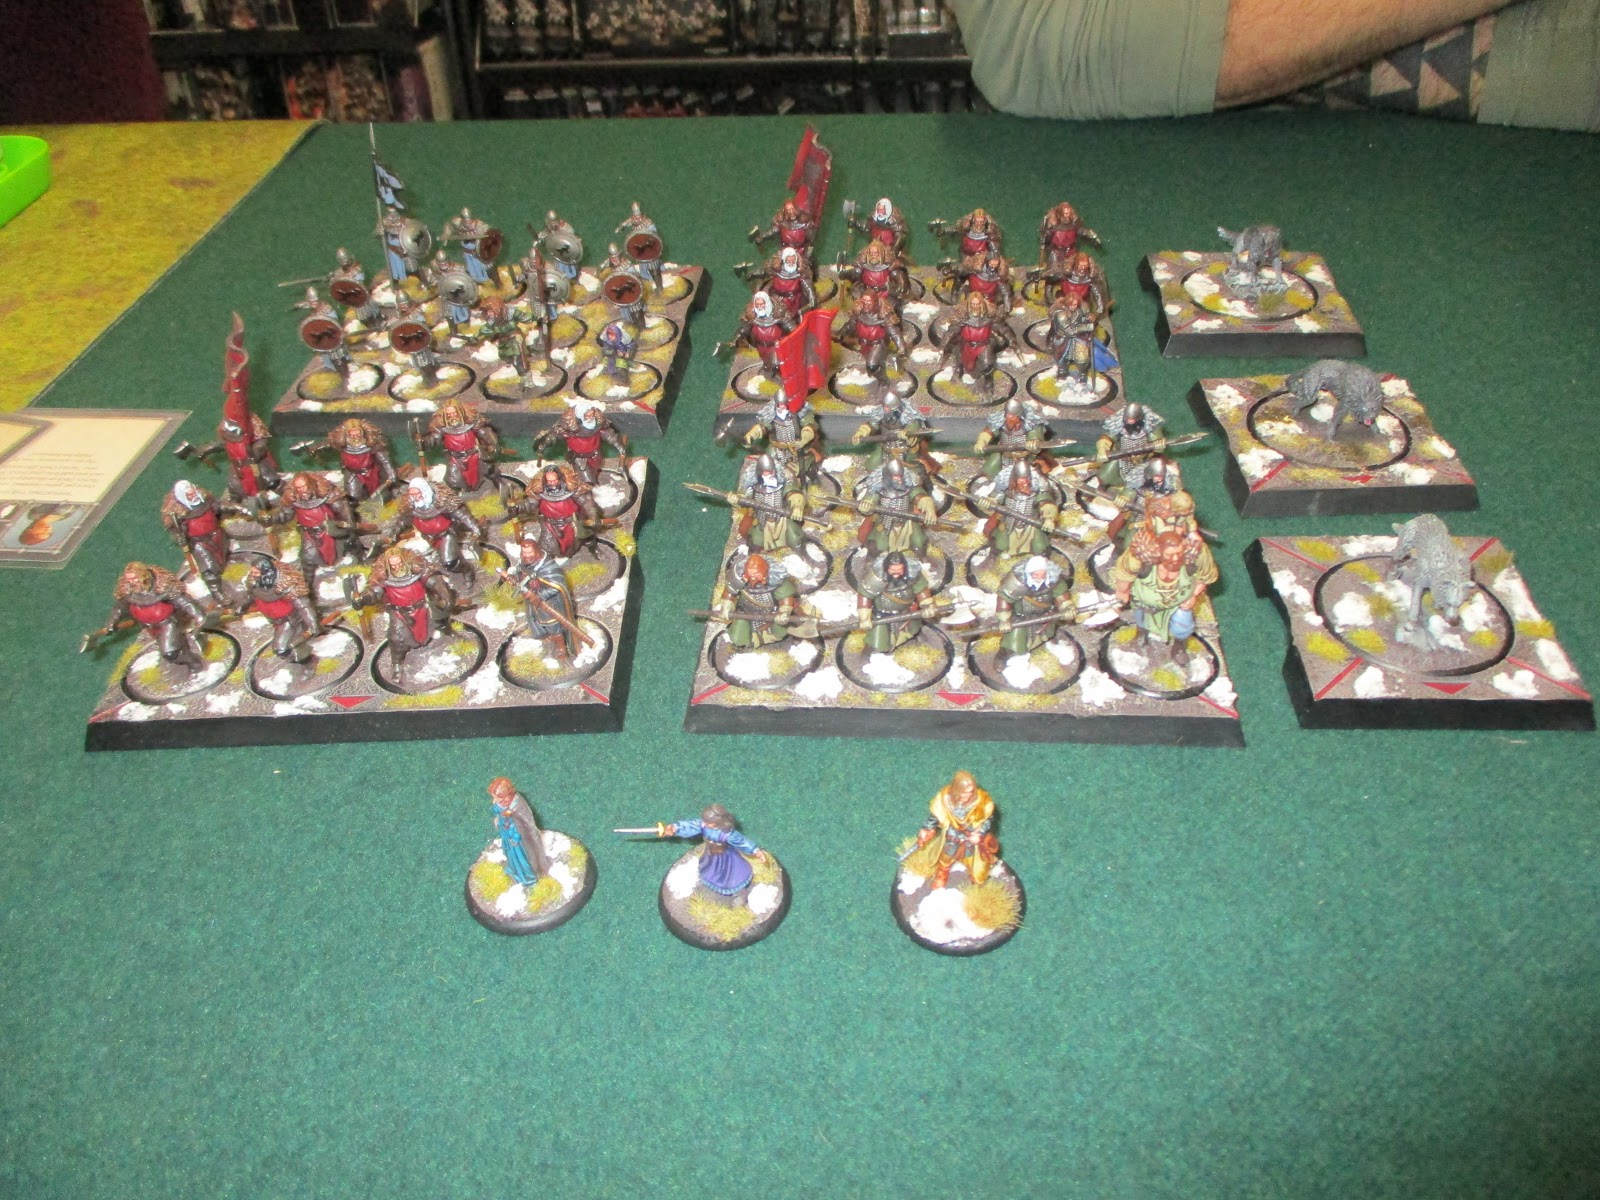
This isn't my army, but a beautifully painted Stark Umber force that's worth showing off...
Gaming figures is well stocked with A Song of Ice and Fire figures, as well as plenty of other games systems (including Blood and Plunder) and if you are in the Teesside area you should pay them a visit. Its easy to find, its on the ground floor of the Hub right on the waterfront...

No, it is literally on the promenade as this is the other side of the street!!!

As I said, well stocked with A Song of Ice and Fire goodies...

The format was one 40pt list, but using the standard tournament rules for Victory points with secondary scoring, as well as random terrain generation...
My Lannister force was as follows:
NCU's: High Sparrow (C)
Tyrion Lannister
Combat Units:
Knights of Casterley Rock
House Clegane Mountains Men
Poor Fellows
Poor Fellows
Lannister Halberdiers
Lannister Halberdiers
The four Games played through the following scenarios:
Game 1: Fire & Blood
Game 2: Dark wings, Dark words
Game 3: A Dance with Dragons
Game 4: Feast of Crows
And before I commence, I had four excellent games against four excellent gamers who may not always have been lucky with their dice, but who played the game in the right spirit with no rules issues or pointless gimmicks. With V1.5 just out, and facing opponents who may locally interpret rules and play things slightly differently, there were could have been misunderstandings but there weren't and they all made me feel very welcome. That goes for the rest of the guys and Gavin, who runs the store and organised it, so a big thank you to you all...
GAME 1
FIRE & BLOOD
My first opponent was "Fiz", or Adam. He was using a Free Folk list that was lacking in numbers but was pretty daunting for Fire and Blood...
It consisted of:
NCU's: Styr and Craster
Combat Units:
Savage Giant
1 x Thenns
1 x Thenns with Weeper (C)
1 x Cave Dwellers
1 x Followers of the Bone
Fiz set up heavily on my left but with Cave Dwellers off board...
Left to right its Thenns, Followers of the Bone, Savage Giant and Thenns

With being 18" deployed, I was outnumbering Freefolk and had good manoeuvrability on my right. Terrain was not a hinderance as our units quickly demolished them...
I deployed from left to right, Halberdiers, poor Fellows, Halberdiers, Poor Fellows, Mountains Men and Knights.
I marked the Giant and the Thenns on my right, while Fiz marked the Poor Fellows and central Halberdiers

I took the letters with the High Sparrow and Fiz gave Giant extra move. Tyrion took the swords and my right Poor Fellows destroyed the spikes in front of the my Mountains Men. The Giant then charged at the marked Poor Fellows, but failed. The Thenns advanced up on my left and I charged the Giant with them, gaining two extra attacks and scored two wounds. The Followers of Bone advanced up and my Halberdiers flanked the Giant leaving him on one wound. Alas, he healed with Craster on the bags

Lannister v Freefolk and no one on the Crown!!!

I charged up on the second Thenn unit and a failed panic helped them be pretty badly mauled. My Cleganes and Knights marched up to close on the marked Thenns, who had destroyed their spikes in front of them.

TURN 2

Fiz had the Giant swing with Styr on the Swords against my Halberdiers.

I took the opportunity to charge the marked Thenns, but failed and also failed the panic. The Giant swung again at my marked Halberdiers and reduced them to 3 men. I activated my left Halberdiers and finished of the Weeper and his Thenns, surging up and around to threaten the Freefolk flank

But then the Cave Dwellers appeared and ruined my day...

The game was nicely balanced, and the Thenn charged the inviting Mountains Men, before they were flanked by the Knights in turn.

The Thenn's charged the marked Poor Fellows while their brethren moved up...

End of turn 2 Lannisters 1 VP, Free Folk 0 VP's
TURN 3
Tyrion took the swords and the Mountains Men savaged the Thenns, but Fiz healed them up.

My marked Poor Fellows swung at the Giant with a morale toke too, and killed the Beast but the Cave Dwellers finished off my Halberdiers. I then charged my Poor Fellows into the marked Thenns but fluffed their attacks and they held on while the other Thenns finished off my marked poor Fellows. My marked Halberdiers tactically withdrew, while my cavalry moved again with the Sparrow on the horses to get a rear charge, which reduced the Thenns to one sole survivor...

End of Turn 3, Lannister 4 VP's Free Folk 5 VP's


Alas, its at times like this the game get's the better of you, the tension and excitement get in the way and you forget to take pictures...
To summarise the Thenns hung in a bit with healing but then they died while the Lannisters regrouped. Major play was use of Counterplot to stop the Endless Horde card, which was a god send...
End of turn 4, Lannisters 7 VP's, Free Folk 5 VP's

TURN 5
The other Thenns suffered dual charges...

and proved less resilient than the other one, the Cave Dwellers looked on!!!

End of Turn 5
Lannisters 8 VP's, Free Folk 5 VP's

TURN 6
We engaged the last of the Northern folk but the game ended there...

End of Turn 6,
Lannisters 8 VP's, Free Folk 5 VP's.
A standard victory in an excellent game as it really swung back and forth early on as we weighed each others forces up and frustrated one another. The Poor Fellows did well, but those Thenns!!! I was Fizzing as Fizz was laughing!!! It took 3 units 2 turns and 6 melee's to wipe them out. It may have been over in last two turns, but holding onto that Counterplot to deny the Endless horde probably won me the game!!!

GAME 2
DARK WINGS, DARK WORDS
Next up was a Baratheon force played by Addy, another Adam (of the three) and the last I faced...
Addy hadn't played many games with his Baratheons, or ASOIF as I recall, but neither of us had played this scenario and I knew his army would be a tough match up...
It consisted of the following:
NCU's: Tycho Nestoris & Alester Florent
Combat Units:
Baratheon Sentinels with Renly (C)
Baratheon Sentinels with Master Warden
2 x Baratheon Wardens
Flayed Men
With random terrain generation, we had palisades, a wall and three bogs (they are bogs full of dead people). The objectives would only come into play if required by the 3 random secret missions required it. The 3 secret missions weren't secret, and one got changed for the following turn at the 1st players choice. The first 3 missions allowed points by charging flanks, failing a panic and something else that didn't matter...
Addy set up as you look left to right, Flayed Men, Wardens, Wardens, Sentinels and Sentinels with Renly...


with my Cleganes Mountains Men centre right flanked by Poor Fellows...

TURN 1
I think Addy went first and took the free movement to advance the non-Renly Sentinels...
Tyrion saw an opportunity, took the Crown and caused the Flayed Men to fail a panic check, giving me an early VP. Of course, Alester Florent healed them so I drew some cards...

The Baratheons advanced as slowly, as well, Baratheons! No marches while I advanced at pace

End of Turn 1, Lannister 1 VP Baratheons 0
And Tycho Nestoris is guarding his treasury below!!!

TURN 2
Addy replaced the failed panic secret mission with another one as my morale was far better. I think it was score 3 VPs if you have an infantry unit in the enemy deployment zone, but I knew it was useless to us both.
This turn was all about the Lannisters advancing on the objectives while the Baratheons didnt (well not quickly). Except somehow the Sentinels ran up and drew a charge from my mid left Poor Fellows, who were attacked back with card shenanigans (but got a faith token). And also, a long range charge by the Flayed Men (but some Lannister card shenanigans and Supremacy made them worse off)

TURN 3
I swapped out the deployment zone mission and drew 4 VPs for killing the enemy commander. Nice if I could get into Renly, but mission impossible for Addy. But I was set up for some nice flank charges to score extra VP's...

Just showing the possible flank charges off. Addy gave the left Wardens above a free move into the bog...

And I flanked the Flayed Men...

Alastair Florent panicked the Mountains Men, but with my right Poor Fellows taking a free attack to destroy the palisade, the Mountains Men flank the Sentinels. Renly advanced up behind in support, as did the other Wardens. My unengaged Poor Fellow charged Renly and my Halberdiers charged the Wardens...

TURN 4
Addy swapped out the Kill commander secret mission for one that scored points (1 per objective)
With first turn, the High Sparrow took the swords and the Mountains Men finished off the Sentinels, advancing to threaten Renly.

I'd retreated my Knights last turn to allow a charge, but it didnt happen as planned as the Wardnes hit hard after vicious Flayed Men and finished of the Halberdiers...

Fortunately, my flank charge by the Mountain Men was awesome, seriously depleting Renly's Wardens with wounds and a morale failure, before the Poor Fellow and their faith token wiped the unit out...

My Knights had charged the Wardens and hurt them badly, as had my Halberdiers attacks but though both our forces had ranks that were depleted my enemy was down in units...

TURN 5

End of Game (turn 5)
Lannisters 9 VP's, Baratheon 3 VP's
A crushing victory and 4 secondary points, but this game was pure luck (something my regular opponents know I thrive on). The flank attack VP's was a gift for me at the right time, as was controlling the objectives. The cards landed right for me, and not Addy. Also, Renly failed a few panic checks when he had no right too. On a plus, the Flayed Men held up everything I could throw at them right from turn 1, though Tycho did bail them out in turn 3. But another excellent game.

We broke for lunch, and Addy showed me where the variety of shops were open but he headed to Subway and I went to the chippy!!! Which was great as the venue is on the seaside so the chippies were open and they sold battered sausages as well as Irn Bru. I ate it at the Promenade with the sun out, then went to the Ice cream parlour? (Its not America!!!) Had a Lemon top, which is a Whirly ice cream with Lemon Sorbet on top, a massive cone for less than £2. Can't get that at Southport, for sure!!! Anyway, when my brain had thawed out, it was on to game three...
GAME 3
A DANCE WITH DRAGONS
My opponent Lee had a good army, Lannisters led by Ramsay Bolton consisting of the following:
NCU's: Cersei and Pycelle
Combat Units:
2 x Lannister guards with assault veterans
1 x Lannister halberdiers with Jamie Lannister Kingsguard
1 x Lannister Crossbows with Guard captain
1 x Bolton Blackguard with Ramsay (C) and Reek
Lee deployed as you look below, Guardsmen, Halberdiers, Blackguard, Guardsmen and Crossbows, against my left to right deployment of Mountains men, Poor Fellows, both halberdiers, Knights of teh Rock and Poo Fellows extreme right.
TURN 1
I believe Lee went first and took the messenger, so I took horses to advance Mountains men up toward the deny NCU objective. I was then hit by Cersei on the Crown but not badly and used Tyrion to remove the weakened token and heal the Clegane Men. The rest of the turn one standard manoeuvering, with the palisade hampering my right. But I was closer to all the objectives.

Indeed, the mountains men had secured the the left and denied Cersei her influence...

The hablerdiers were nice and central, ready to receive any incoming charge...

And the poor Fellows would take the right...

TURN 2
I took the horses with the High Sparrow, advancing my centre left Halberdiers to tak the centre objective and also have the morale bonus.


End of Turn 2
My Lannisters 3 VP's, Lee's Lannisters 0 VP's
TURN 3
Start of play Turn 4, and the game was nicely poised on the right.

On the centre it was poised well too, but on the left, I felt my cavalry would give me the advantage...

And so the battle began in earnest, with my cavalry hammering the crossbowmen but with weakened and 4 saves, they still had two ranks. The Blackguard went into the Halberdiers suffering from the Lannister halberdiers set for charge order, before the poor fellows moved up to block Jamie from also assaulting the Halberdiers. As the centre melee went on, the Halberdiers lost control of the objective early on by failing a panic, but this meant when the Blackguard attacked they suffered D3 wounds...

My left Poor Fellows took the Halberdier charge well, losing only 5 men due to a disorderly charge. My halberdiers however, cut through the Guardsmen on the right, helped by a bad morale roll leaving two men. I retreated the Knights with Tyrion on the horses, but my Poor fellows failed a long range charge into the crossbows who survived the round... On the left, almost hidden from shot, house Clegane had suffered from the halberdiers attacking them and failed panic, and were down to two men...

End of Turn 3
My Lannisters 4 VP's, Lee's Lannisters 2 VP's
TURN 4
Start of play at turn 4, my left was looking precarious...

But so was Lee's, with my right about to crush them!!!

To sum up, as it was brief and brutal. My strongest Halberdiers smashed the remaining two Halberdiers on my left with the swords. Ramsay then finished of my central halberdier, my Poor fellows smashed the crossbows and Lee's Guards on my left finished remaining Mountains Men. The left Poor Fellows held up Jamie and his Halberdiers before my Halberdiers charged into the healed up Blackguard, losing some to panic but reducing them down some so the lannister cavalry could charge in and finish off the Bolton's...

End of Turn 4
TURN 5
Jamie's Halberdiers finished off the Poor Fellows. My Knights and Halberdiers backed off, securing a hard fought 12 - 8 win the Bolton led Lannisters

That was another excellent game, with both sides swinging successful right hooks. Again, my Poor fellows shone but I found Pycelle incredibly annoying, his weakened tokens hamstringing charges all game. Lee was real fun to play against, but I got an early start on the objectives and that helped me in the end...
GAME 4
A FEAST OF CROWS
For the final game, I got face Starks, so had played 4 different armies with players I've never played before. Great!!!
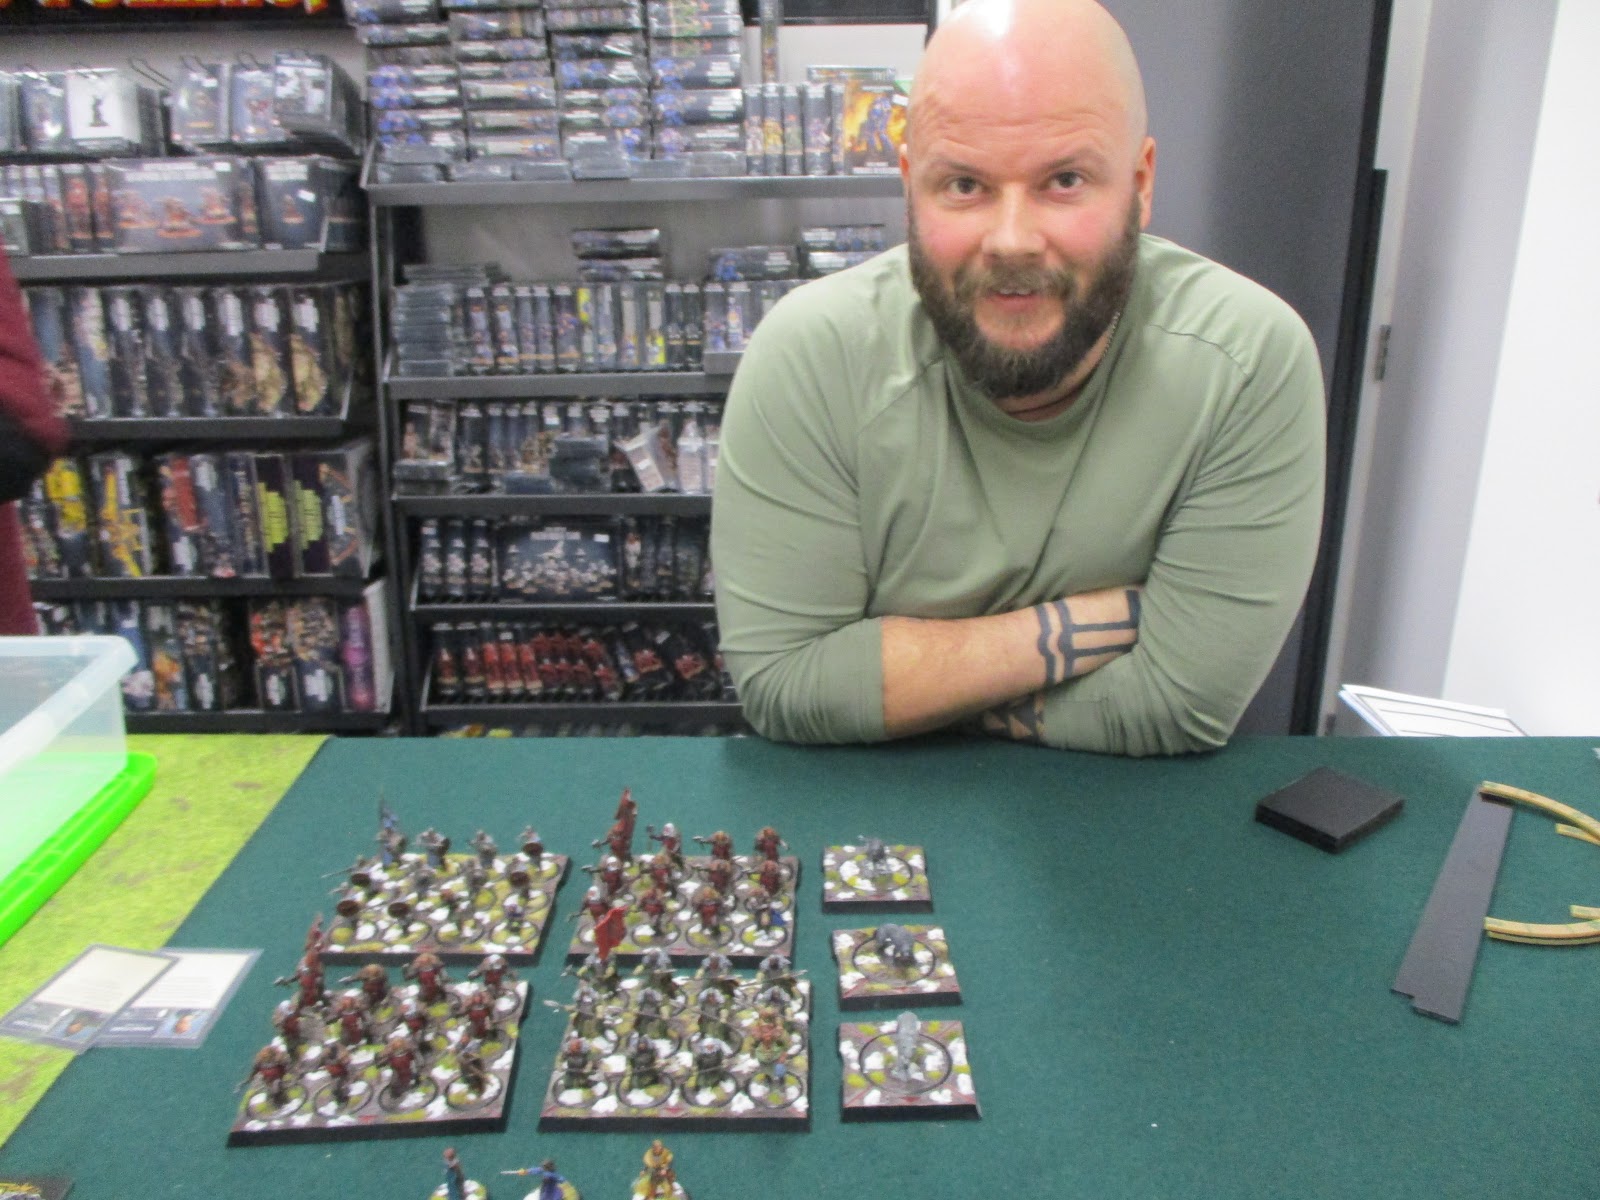
Aaron was my opponent, and he has a beautifully painted Stark force. He is also a devotee of https://onthetablegaming.blubrry.net/ , the A Song of Ice and Fire podcast. I'm going to have to look into it myself...
Aaron's list consisted of the following:
NCU's: Arya Stark & Sansa Stark
Combat Units:
Umber Berserkers with Eddard Stark (C)
Umber Greataxes with Bran and Hodor
Umber Berserkers with Robb Stark
Stark Sworn Swords with Orsha and Rickon
Summer
Greywind
Shaggydog
Attachment for enemy unit: Jaqen H'agar, Mysterious Prisoner
I knew this would be tough, as Aaron was also on three wins, had tough units with good attachments, good morale, as well as more activations.
Also, he had painted Jaqen to look like he belonged with my Poor Fellows ...

With the last game upon us, I got carried away and didn't take set up shots so first turn in I'll describe.
Shaggydog on my left as you look, next to Sworn Swords then Summer, Greataxes with Hodor, Eddards Berserkers. I faced this with Poor Fellows with Jaqen in, Knights of the Rock and Halberdiers. As you can see, Aaron was straight into my face with his Greataxes, just failing the charge against my Knights who had already been hit by Arya on the Crown.

I at least had a numerical advantage on my right, but I was feeling the pressure from the word go...

End of Turn 1

TURN 2
I charged the Umber Greataxes with the Knights, it seemed the only thing to do. But some card shenanigans as Shaggydog and the Sworn Swords over whelmed the Poor Fellows in short order, freeing Jaqen who assassinated the High Sparrow!!!
My Halberdiers and Knights combination was pretty lacklustre as way of reply, to say the least...
Apologies for the blurry picture, my hands were trembling with fury at the cowardly killing of the Father of the Faith. Or was it just shock that I was getting so badly mauled by the Wolves of the North? Eddard hit the flank of the Halberdiers, Rob's Berserkers were charged by house Clegane Men who did nothing while the Poor Fellows left Greywind on a wound, as my far right Halberdiers swung up onto the corpse pile and the objective there. Rob's Berserkers then absolutely combo'd up with cards and other Stark stuff to take 11 Mountain scalps...

END OF TURN 2!!! END OF TURN 2!!!

TURN 3
This is the start of turn 3. Well, my Halberdiers finished off Hodor and the Greataxes which triggered one of Eddard's cards...

allowing them a free hit to finish of my Halberdiers and surge forth swinging to my right...

The Poor Fellows spent Faith and killed Greywind, allowing Rob to charge them but they held and the Halberdiers joined in...

With Summer holding my last Knight in place, the Stark Sworn sword finished them off and the and the two wolves went to the objectives...

Rob's Berserkers healed up some and killed a rank of Halberdiers...

End of turn 3 saw the field littered with Lannister corpse piles, the Starks in total control with only 2 Lannister units and 1 NCU in play...
Stark 7 VP's Lannisters 3 VP's

TURN 4
Aaron placed Arya on the Swords and Rob's Berserkers wiped out the Halberdiers...

In a petty act of vengeance, my reinforcements on the Poor Fellow allowed 5 attacks with Way of the Warrior card and I scored 5 hits plus D3 +1 wounds from Faith token, and the Starks failed their morale with Hear me Roar. I'd killed Rob. You have to take small victories when the bigger picture isn't good. Eddard avenged his son and the game ended on Turn 4.

END OF GAME
Starks 13 VP's Lannisters 4 VP's (Crushing defeat)

Well that was brutal, and mercilessly swift. Aarons Starks were all over me and cutting through me before I could even get my dice warm. I mean I have played Clegane lists that hit hard and hurt, but the added benefit of cards and combo's from attachments was awesome to see, even while I was reeling. Aaron certainly knows the army and its strengths, he concentrated heavily on his right, freeing Jaqen to remove the High Sparrow and simply played a blinder.
Sure, with hindsight I was spread out but even so, the speed of the assault surprised me. And Jaqen is definitely getting painted. The loss of the Father of the Faith, saw my men lose faith and eventually so did I.
Well played Aaron (whose picture I took before the game, to show whose army it was). I can see it in his eyes now, he knew full well what he planned to do to those soft Lannister southerners!!! Aaron won all 4 games and walked away with top spot unsurprisingly. There were three other players on 2 wins, but my crushing defeat placed me fourth. I wasn't bothered, I'd had 4 great games with four really good guys, what more could you ask for??? (oh yeah, chippy lunch, ice cream and sunshine by the sea!!!)
Hopefully I'm free for the next one, planned in March...


