Chris Carr and I were kindly invited to put on a demonstration game at again at Cannon 2018, a family friendly table top wargame show organised by Retford Wargames Group. We had put on a demo game back in 2015, Sidi Bou Zid (Bolt Action) which is on the blog somewhere, and there were quite a few games on show, as well as a Bolt Action tournament run by the Yorkshire renegades...
Retford is in North Nottinghamshire, just South of South Yorkshire and North Lincolnshire, West of normal Lincolnshire, and East of Derbyshire! And for £3 entry per adult, its a good day out with all proceeds are donated to a local hospice.
Chris and I haven't played Blood & Plunder for a while, and with an 8ft by 6ft table, we decided to get all our figures and ships out (which was nice for me having painted all mine in 2017, but hard on Chris as he is a slower (if generally better) painter than I.
We mulled over a pure ship battle, and then decided to make a custom narrative scenario, to try and encapsulate everything we love about the game (Land, Invasion, Ships)
So enough with the preamble, to the scenario.
(Please note, this is not a historical battle or based on any particular event as there is actually a city in Cuba of the same name)
SPANISH FORCE,
HIS MOST CATHOLIC MAJESTY'S NOBLE DEFENDERS OF SAN CRISTOBAL
The Spanish territory of San Cristobal has extensive plantations inland, and a standing force of Guarda Costa with two ships, the Sloop "Sirena" and the Brigantine "San Pedro" to patrol its waters and deter any unwanted attention. The islands Governor had his own bodyguard of trained Milicianos, and the sizeable Militia force could quickly be roused to the port should the need arise.
Given this, we planned to recycle any Spanish unit lost and they would come in next turn down the inland road. The Spanish had to minimise structural losses (buildings and ships) while keeping the Govenor alive. The Spanish forces would be spread out around the village and outlying buildings, and would be unable to activate until the enemy had fired.
(Controlled by me) Spanish Forces:
The Governor (Inexperienced Captain as a political appointee, not a soldier)
Experienced Captain of the "Sirena"
Experienced Captain of the "San Pedro"
3 x 10 inexperienced Milicianos
1 x 8 Trained Milicianos (Governors retinue)
11 Trained Lanceros
8 Trained Milcianos Indios
2 x 6, 1 x 7 Trained Marineros
 |
| The Brigantine "San Pedro", at dock but ready to sail |
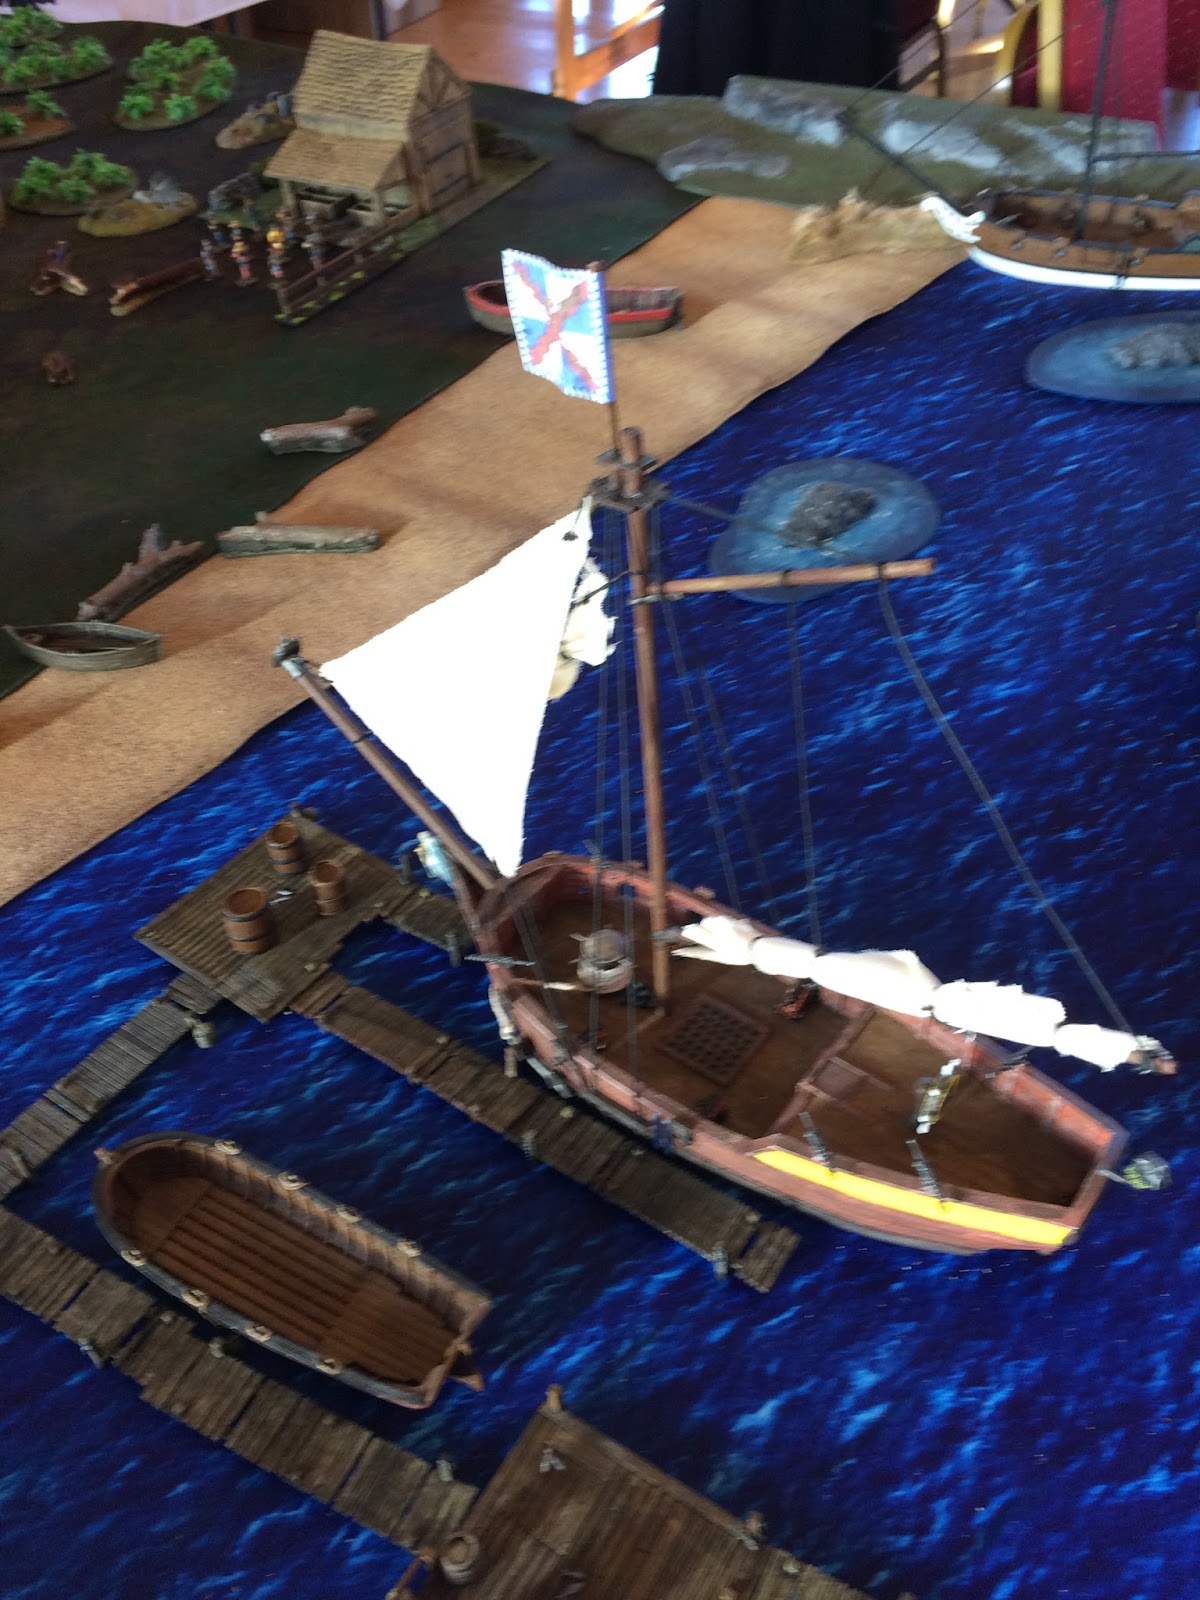 |
| Unlike the "San Pedro", the sloop "Sirena" was not ready to sail. |
 |
| The ships crews of Marineros and Milcianos are in town, safe in port and with their numerical superiority, why worry? |
 |
| The Captain of the "San Pedro" spends time with his lads |
 |
| A Miliciano group on way back to port |
 |
| One group of Marineros to a house please! |
 |
| Baptised Native Lanceros will be required to help load up the ships |
 |
| Having been second to port, the captain of the "Sirena" and his Milicianos have to make do with the lodges outside town... |
 |
| Overview of San Cristobal |
 |
| The Spanish port from the ocean side |
 |
| The Governor mounts up to lead his men into town, aided by God, who should they fear? |
 |
| The pride of my fleet until the Galleon "Leon de Gibraltar" arrives (sadly not this battle!) |
 |
| More thematic not to crew the ships we felt.... |
 |
| Indios been out poaching again I presume... |

Lanceros and Woodsmen's hut colour co-ordinate nicely (sounds more French than Spanish)
|
ENGLISH FORCES
SCOURGE OF THE SPANISH MAIN, THE DREAD PRIVATEERS OF HENRY MORGAN
The English would have had a hard task of it if all their forces arrived by ship at the beach, so we allowed one ship to land behind the headland the previous night and advance o'ernight to take the defender by surprise. This flanking force would only be revealed if direct line of sight could be drawn from a Spanish unit to tone of their units. The rest of the English forces would start on board ship, and have to land at the harbour or the beach. Their objectives were to kill the Spanish governor, and enter the mansion to plunder (only if there were no Spanish troops in it could they do this), and also put the town to the torch (Firepots from range, or spend an activation to pass a resolve roll in base contact with a buildings).
(Controlled by Chris) English Privateer Forces
Henry Morgan
Experienced Captain
2 x 10 Sea Dogs
3 x 7 Freebooters
1 x 12 Militia
Frigate "Sea Fury"
Brigantine "Caroline"
(Outflanking forces)
1 x 7 Forlorn Hope (with Grenadoes, Firepots and Stink pots)
1 x 8 Boucaniers
1 x Filibustiers
Sloop "Pheasant" (moored round headland)
 |
| Morgan's advance party (from left to right: Forlorn Hope, Filibustiers & Boucaniers) |
 |
| Unhappy with the Spanish, these French Boucaniers are the scouts of Morgans force. |
 |
| Well trained French mercenary Filibustiers. They hate the Spanish (especially mine) |
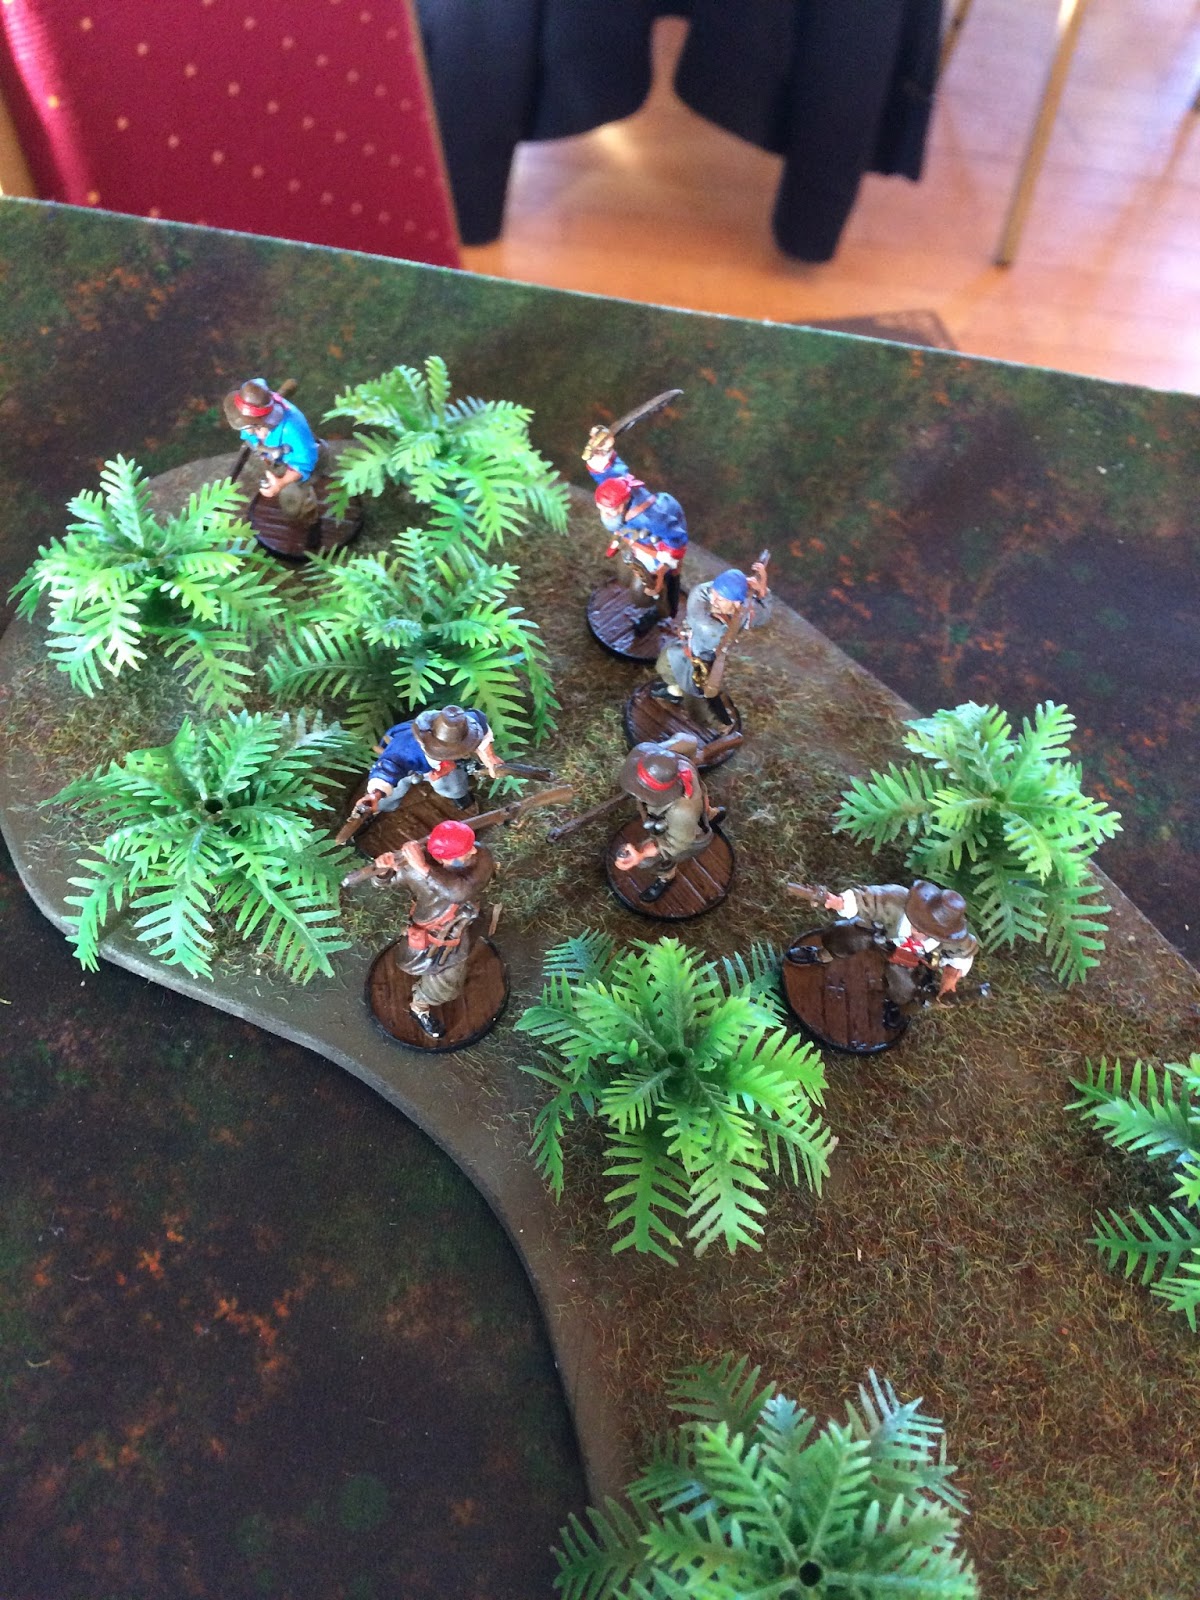 |
| Veterans make up the Forlorn Hope, armed to the teeth but get a bigger share of the loot as first to breach any stronghold. |
 |
| Crafty and cunning, the vanguard will wait till the Spanish move before revealing themselves. |
 |
| Morgan and his men on the Frigate "Sea Fury" |
 |
| The Brigantine, "Caroline" and its crew, skilfully led by Captain Alexander Joseph |
 |
| "Sea Fury" locked and loaded: Morgan on the aft deck with his Freebooters, Sea dogs manning the cannons and militia at the forecastle |
 |
| Morgan looks seaward, perhaps scanning for enemy threats, as the sea dogs toil with cannon port and starboard |
 |
| On the "Caroline", Captain Alexander fears no starboard threat with his sea dogs doing the sailing, while he gets the Freebooters to concentrate on the Port cannons (towards the harbour) |
TURN 1

The first activation hand saw me draw an event, promptly giving my Captains Marineros 3 reload markers... well, I am acting over confidently with my Spanish after all.
|
The "Sea Fury" flies towards the harbour, full sails and the Spanish see the folly of not manning their ships...

Actually, the "Sirena" crew probably aren't as the "Caroline" speeds across its stern and gives it a point blank, raking broadside...

San Cristobal awakens at the sound of cannon fire and splintering timber...

18 cannonballs are fired in quick succession, 15 hitting (causing 30 hull points of damage in game, totally destroying the Sloop in real terms)

The "Sirena" burns on table as she sinks slowly to the seabed. No markings required.

The Spanish sailors waste not time, not do their Militia forces and advance on the port.

The closest Marineros are given the most activations and force themselves to try and get to the "San Pedro" ahead of the English pirates...

Up early in the fields, the Lanceros race down the road to the harbour...

Having wasted some "activations" sleeping while the English ships sneaked in close, Milicianos and some of the drunken Marineros half-heartedly advanced to the harbour.
TURN 2

No such shoddy efforts from the English, as Morgan's "Sea Fury" speeds into the harbour, while the sailors on the "Caroline" reduce speed, avoiding the flaming wreck of the "Sirena" and looking to beach their ship.

Having been caught in their bunks and hammocks, the Milicianos advance to the beach and take up defensive positions, enraged at seeing the burning hulk of their ship...

Meanwhile, the outflanking force rouse from their overnight lay-up, but don't move aggressively as yet, ensuring they remain in cover so as not to alert the Spanish.

Unaware of the danger on their flank, the Governor and his men, with the Indios behind, head towards town and the approaching ships...

He may not have been regarded as a great captain at sea, indeed he was allegedly unlucky there. But Morgans men know their stuff, grappling the "San Pedro" while reducing sails, bringing the "Sea Fury" to a sudden halt alongside.

And then swinging on board her to the forecastle of the Spanish ship. Damn those English Sea Dogs!!! All very Errol Flynn from Chris I must say!!!!

The Boucaniers, Filibustiers and Forlorn Hope all want to get to grips with the Spanish, but await the right opportunity to cause maximum mayhem....

The Boucaniers may not dress as fine and dandy as the Filibustiers, but they are better shots and better woodsmen.

The Milicianos are in good cover and ready to repel the English invaders

Morgan is pleased with his men's efforts so far, though the militia at the front loosed their volley to early...

The "Caroline" slows downs to admire its handiwork as it approaches the beach.
TURN 3

The Spanish Marineros take the aft deck of the "San Pedro" in a desperate effort to thwart the English

The Miliciano's seek better cover and to deny the English the benefit of it by advancing to the beach

The "Caroline" hits the beach, as the Milicianos advance towards it.

The English Seadogs advance confidently towards the Marineros on the "San Pedro"

The Seadogs are experienced brawlers, and get stuck in with gusto.

The Marineros are butchered to a man, and the English take control of the helm

From the aft of the "Caroline", Morgan's Freebooters disembark onto the jetty, as the Milicianos drills kick in, they form up and fire off a long range volley.
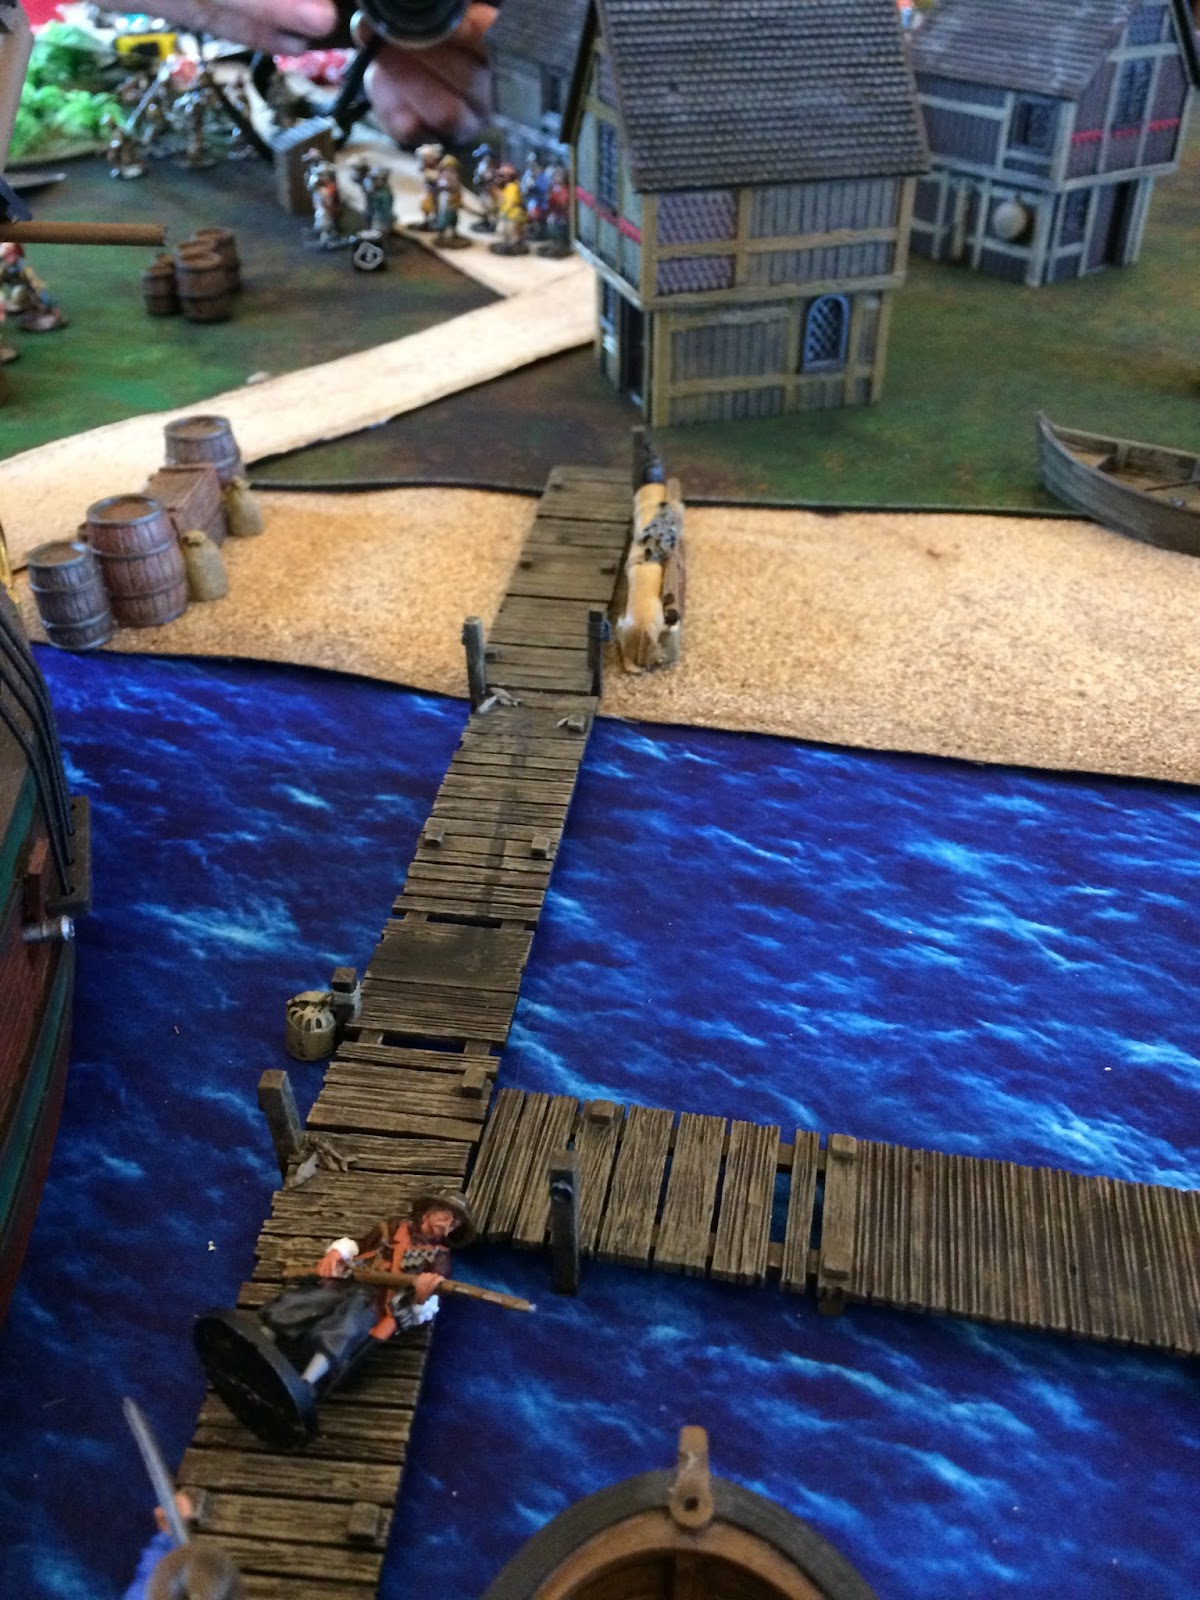
The first Englishman on the jetty take a musket ball to the chest and collapses.
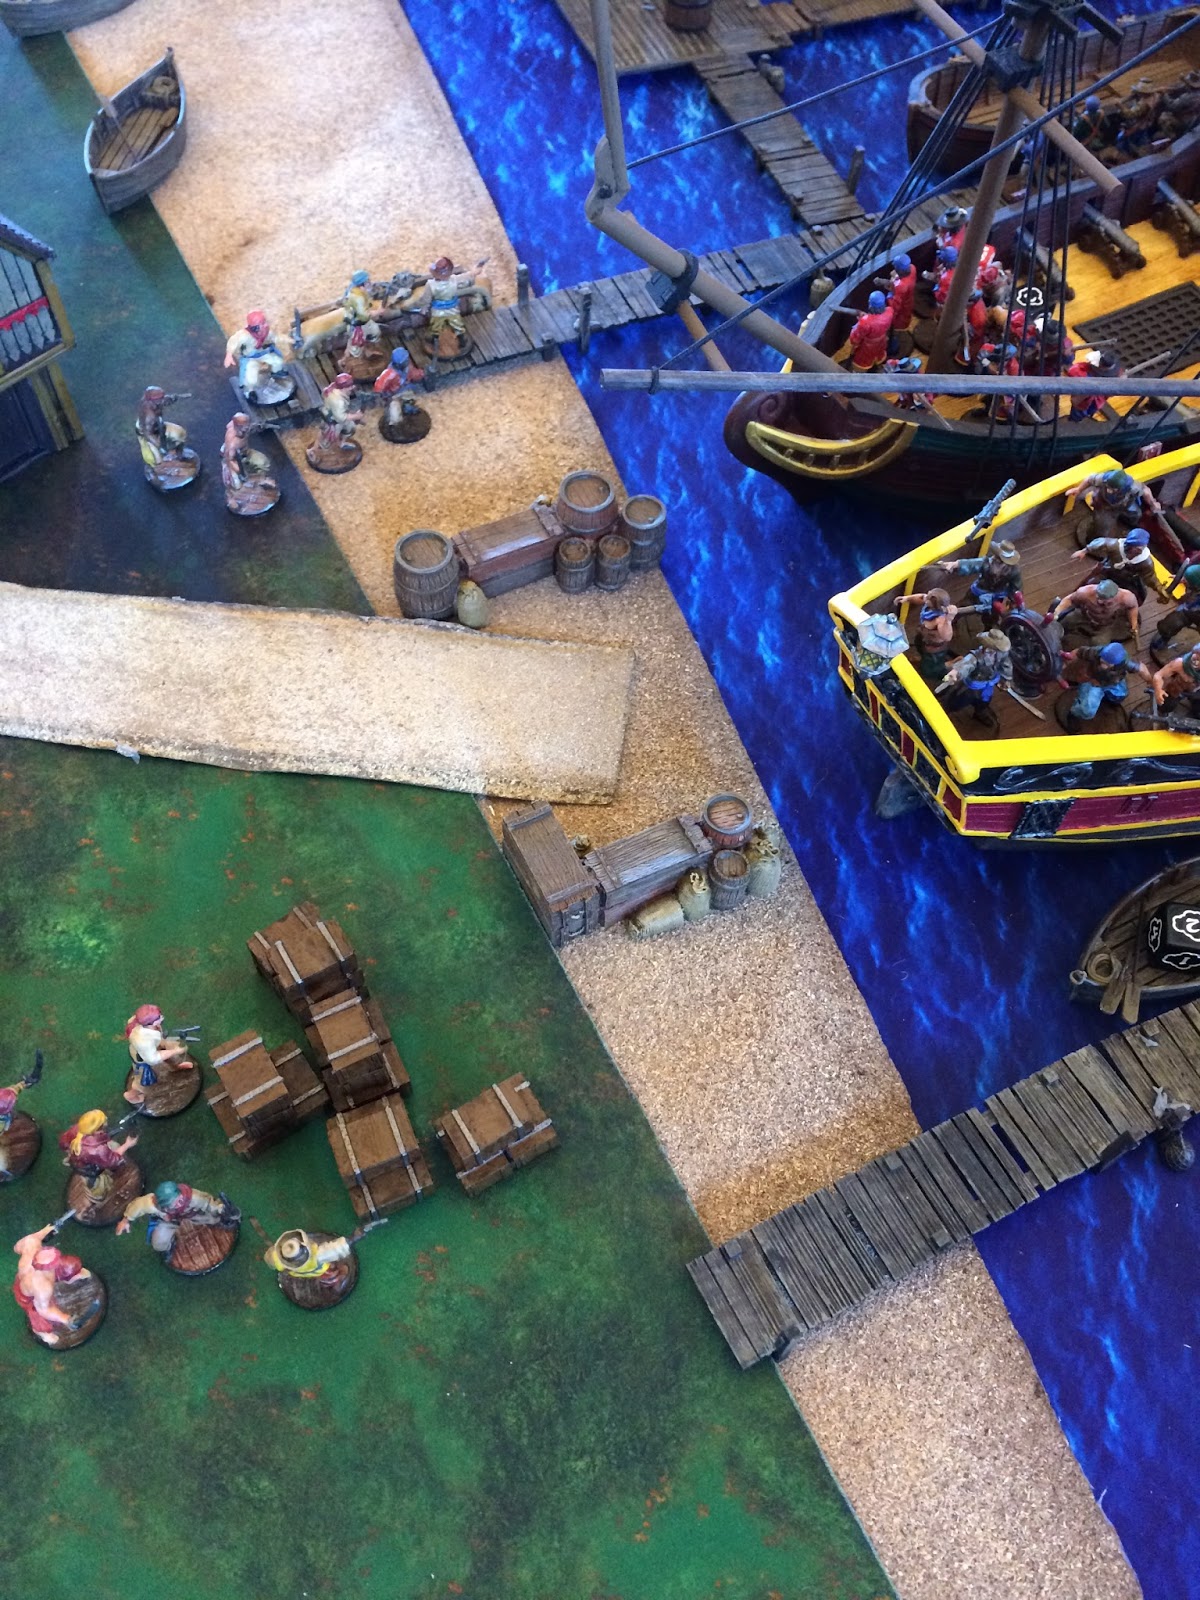
Heartened to see their foe fall, two units of Marineros advance, one under cover, the other recklessly charging towards Morgan's Freebooters

The English Militia on the fore deck miss their shots at the oncoming Spanish,

The Spanish forces seem well set to repel the English, who are still largely on board their vessels.

And the English van reveal themselves, with all 3 groups advancing out at pace to the rear of the Spanish defenders.

The Bouccaniers set their sights on the Governor's retinue, but hold fire and prepare to close range
TURN 4

The English Freebooters led by Morgan face off against the Spanish Marineros at the jetty...

However, the English Militia at short range kill several Marineros and force them to fall back, shaken.

As the Milicianos take up position behind some driftwood, the Freebooters have hit the beach, and Captain Alexander Joseph leads his seadogs close behind...

From his vantage, he points out there are more Spaniards on the right!!!

The Spanish are set upon by the Freebooters, losing a few men but their resolve is not affected.

Given their crewmates were holding the beach, the second Miliciano unit advanced and dropped one of the Forlorn Hope.

The Bouccaniers close and drop two of the Governors retinue, unaware there are Indios closing on them. The Filibustiers lend support fire to the Forlorn Hope.

Another unit of Marineros heads down the inland road, behind the Lanceros and Milicianos

Morgan Freebooters drive back the Marineros near them, as the other unit led by a Captain runs down the jetty under the guns of the "San Pedro". The Sead Dogs bide their time, reloading their pistols.

The village had yet to see any English arrive, they seem content to wait (for the flankers to hit?)

The beach is still a brawl, with the Freebooters losing a man to the rapiers of the Milicianos. But no shaking their resolve either!

The first two units of Marineros have been repulsed, but the Spanish are bringing more men to bear and Morgans men haven't made significant inroads yet. Only the beach is contested!!!
TURN 5

The Spanish Milicianos lack of training starts t take its toll, as fatigue sets in... Not so for their English counterparts!

Despite losing one of their number, the veteran English assault troops open fire and lob a grenade into the Spanish Milicianos but despite losing 3 men, they hold.

The Captain and Marineros of the "San Pedro" know their ship, and swarm aboard, losing one man to a Sea Dog pistol... but they only fell a single Englishman in return!

The well drilled Governors retinue take aim at the mercenary Bouccaniers, but the range is to great to inflict casualties...

On board the "San Pedro", the Marineros, like their comrades earlier, are shown no mercy by the Sea Dogs.

The last crewmen of the San Pedro are despatched at the jetty entrance by Morgan's Freebooters.
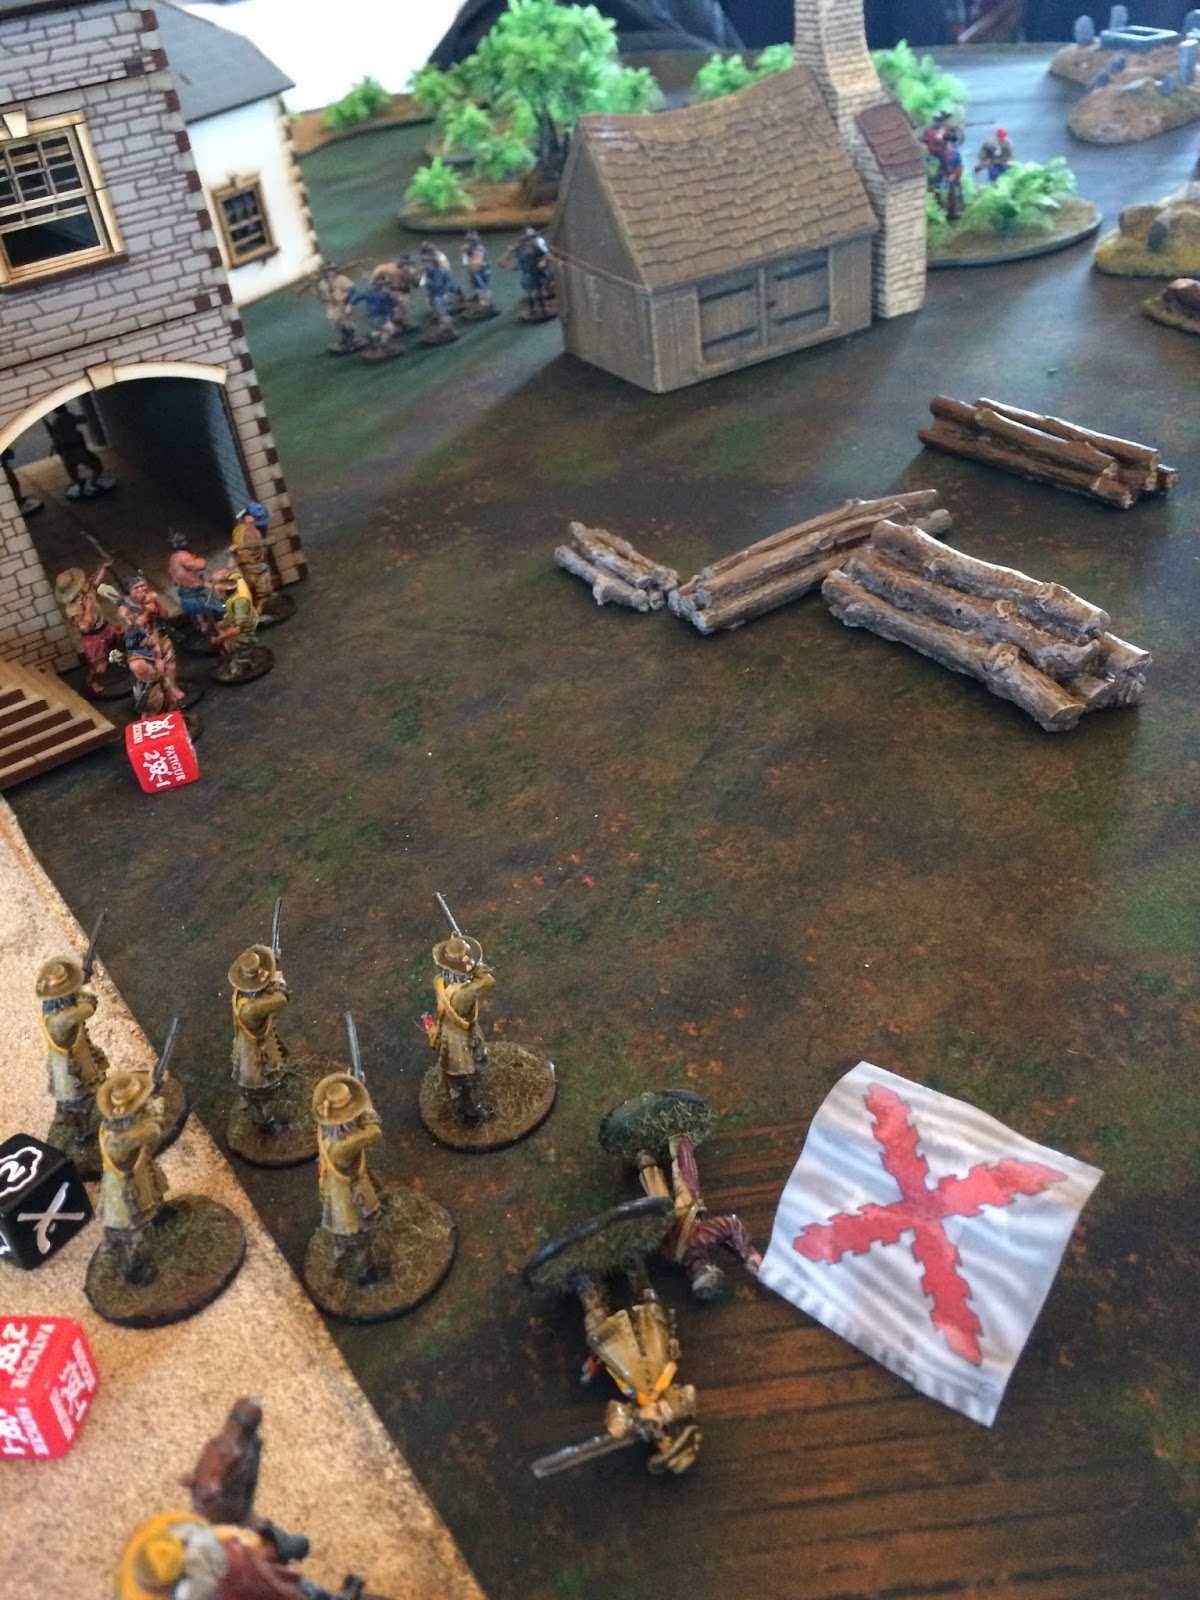
The Bouccaniers found no range problems with their superior weapons, dropping two of the Guards.

Morgan feels the tide starting to turn...

The bane of my Spaniards, the Filibustiers advance into close range and with their deadly combination of skills unleash a devastating volley against the sheltering Milicianos...

All seven remaining Milicianos are killed, as the Forlorn Hope look on...

Butchered, despite the hard cover!!!

However, Morgan has perhaps moved off to quick, as the Lanceros divert from the "San Pedro" to go after the English leader (losing fatigue thanks to a fortunate event card)

Additionally, the Indios use the terrain and come up in the flank of the Bouccaniers, but their arrows inflict no damage...

Sea Dogs be damned!!! Having despatched two units of Marineros on the San Pedro, the Sea Dogs on the aft deck followed Morgan's shouted commands to load the swivel guns the previous turn and then used his next command this turn to let rip and drop 4 lanceros, who suffer two fatigue and are unable to brace themselves as Captain Alexander Joseph and his Sea Dogs leap from the prow of the "Caroline" and set about the natives with wild abandon, dropping another 5 and eliminating the remaining two survivors who are so fatigued they try to surrender! No quarter from Morgans men!!!

An eagle eyed view of the English savagery!!!

The Milicianos don't hold back, but are not as efficient brawlers, dropping only two English dogs.

Further up the beach, the English Freebooters have forced the Milicianos to flee with heavy casualties

And under their own activation, the Sea Dogs who have been decimating the Spanish defences leap off the rear deck of the "San Pedro" and assist their fellows battling the Milicianos in the town...

With the town under heavy attack, and English forces outflanking and storming the beaches, the Governor and his men fall back to his mansion, planning to hold it until reinforcements from the hinterland arrive.

The Milicianos that had held the beach (briefly) are overcome and slaughtered.

More troops arrive from the interior...

20 Marineros and 10 Milicianos are the first few waves to arrives...

One group of Milicianos are all that's left to keep the English out of the town...
TURN 6

The Spanish are quickest off the mark, and drive off the "Caroline's" crew, but the other Sea Dogs are totally resolute!!!
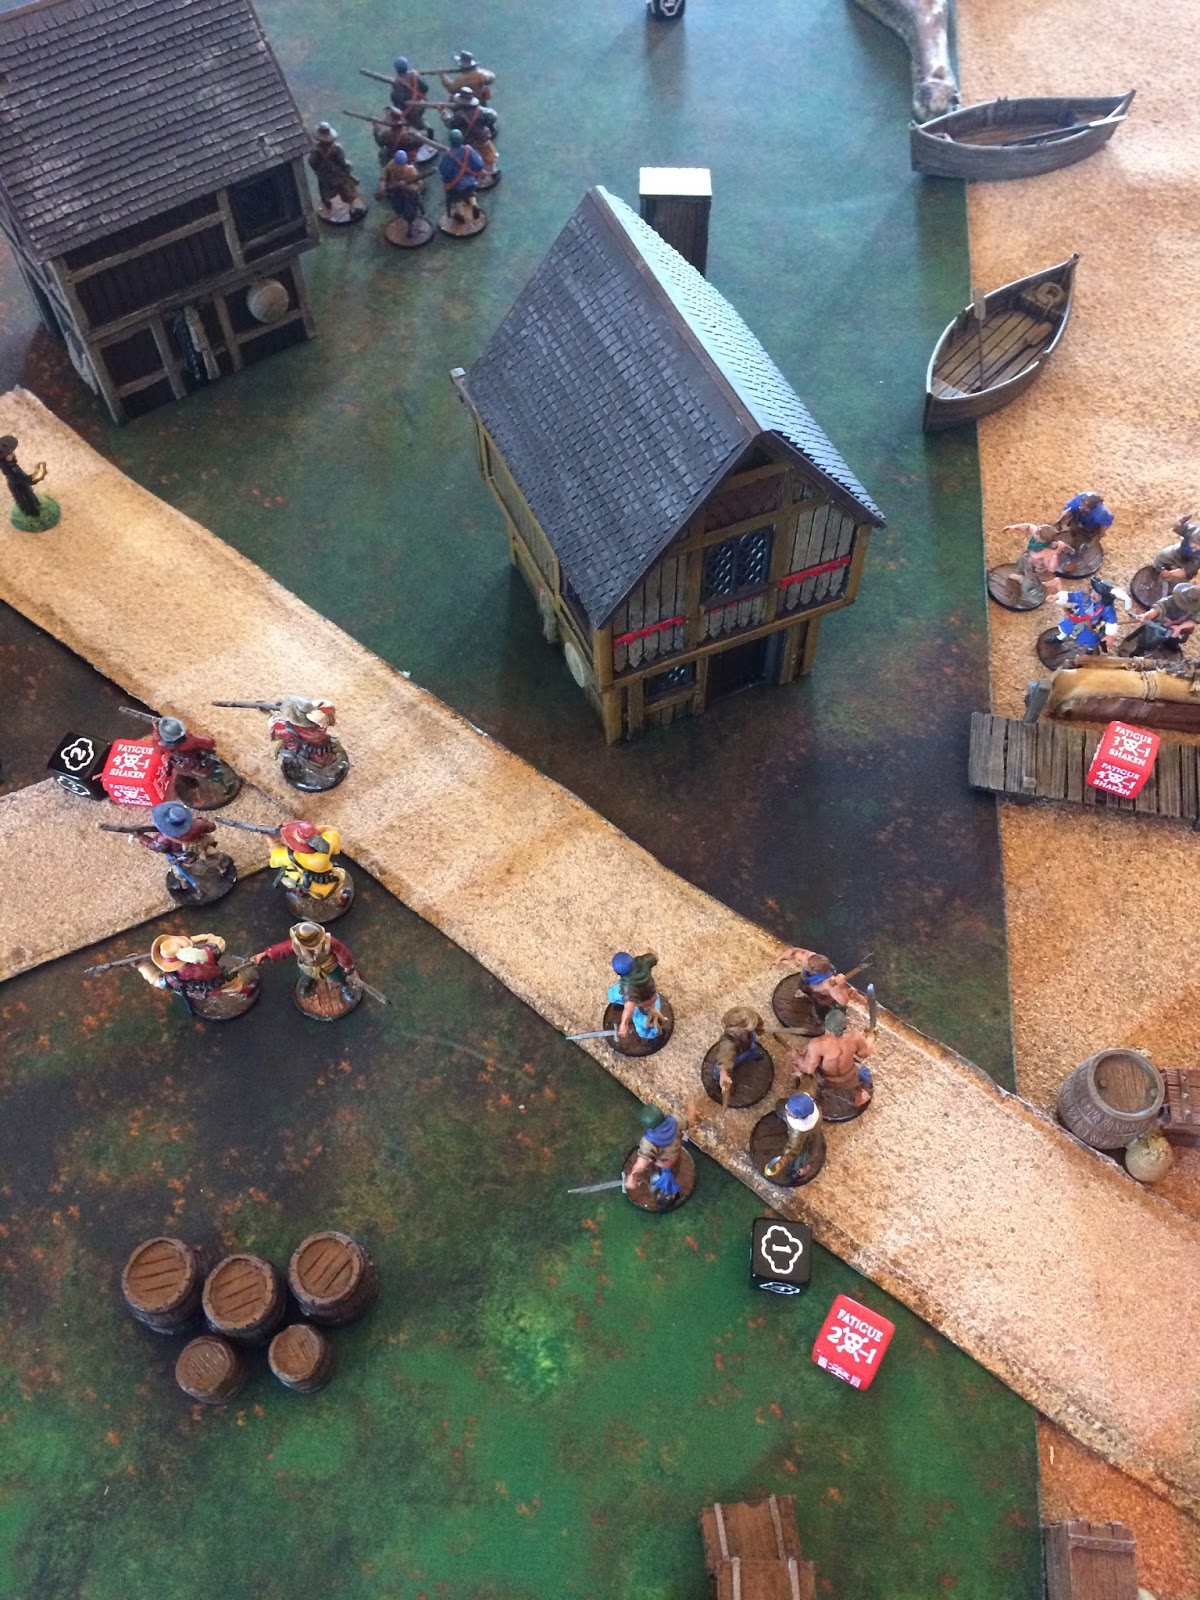
They soon chase off the Milicianos, while the Freebooters from the "Caroline" also advance on the village.

The Bouccaniers, aware of the Indios, kill 5 in a short range volley.

The 3 remaining Indios are badly shaken, but refuse to rout!

While there is still token resistance in the village, the English start to apply the torches!!!

The town starts to burn...

Captain Alexander Jospeh and his seadogs recover, advance and he orders the "Sea Fury" dogs to finish off the last Spanish resistance in the town...

Good English men 'gainst poor Spanish boys,
Cutlass an' cudgel, the weapons "o" choice,
Slashing and clubbing, causing all sorts "o" pain,
Good English men 'gainst, the peasants "o" Spain.
The Cap'ain he shouts, "For Morgan lads, go",
So we set about 'em, with many a blow,
With stabs to the gut, and cracks to the head,
The streets are awash, with the poor Spanish dead.
Their boys are all butchered, their defences are down,
So the order is given, to torch this small town,
But we'll loot it afore, for our booty of choice,
That's what Englishmen do, 'gainst poor Spanish boys

Happy that the last defenders are slain in the town, another house is torched by the English.

With the smoke rising above the port, the Spanish reinforcements increase down the inland road.

To the left, Spanish reinforcements begin to increase, but with two Marinero units arriving in the town and given the English casualties, the odds may be changing.

An overview shows that the English have secured and started torching, but they have given the Spanish a major problem: Do they reinforce the town or the Governor's villa?

San Cristobal burns at the hands of the English, as the Freebooters and Sea Dogs move in. The English Militia stay on board the "Sea Fury".

The English flank forces advance with purpose towards the Governors residence.
TURN 7

The first of the Spanish reinforcements hit (or rather miss) the Sea Dogs in the town, and suffer the same fate as all who went before, though they do not flee...

Given that Captain Alexander Joseph is nearby, and about to lead another Sea Dog charge into them, they maybe wish they had fled. The Marineros had no chance!!!

Having heeded the Governors commands, the Indios advance and stick an arrow in a veteran Forlorn Hoper. But it doesn't prove to be more than a scratch!!!

In return, the Forlorn Hope hit back and the defences prove insufficient to prevent the Indios demise.

Damn, those English and their skill with muskets...

The Milicianos from further inland arrive and reap a bloody harvest of Sea Dogs.

But buoyed by their successes to now, the Sea Dogs are unfazed by their losses.

As more reinforcements arrive for the Spanish, a lone priest tries to stem the English, even as shot fizzes past him towards the Spanish.

Its a long road to the village, but its very busy...

The Governor holds up, devoid of support but in a good position.

Morgan and all 3 Freebooter units are ashore and at the village, while the seriously depleted Sea Dogs are still looting.
TURN 8

The Freebooters take aim at the Marineros again...

And this time a "stray" shot ends the good Father's sermon!

Marinero reinforcements, enraged at the death of the priest take retribution against Captain Alexander Joseph, who still manages to dispatch a Spaniard with a pistol shot before he is knocked out...

The Forlorn Hope storm the Mansion, taking fatigue on the way in and dropping several guards, but the Governor's men hold.

Grossly outnumbered, the Governor and his men attempt to drive off the English but the veterans are having none of it.

The Bouccaniers deliver the coup de grace to the Spanish attempts to salvage some vestiges of pride, assaulting in from the executing every Spaniard they find...

The English sack and plunder the Governors home, and set fire to it...

Between them, the French Mercenaries and English Van manage to haul off several chests of coin.

One unit of reinforcing Marineros are in town, but that's all and the English will be able to make a comfortable escape with their holds full...

San Cristobal burns, and its a pleasing site for the English

The reinforcements are still streaming in, but they will arrive too late to prevent the English making off with their prizes, including a new Brigantine...

Morgan's smug grin is a joy to behold as his reputation as the Bane of the Spanish Main is further enhanced, as the English revel is their decisive victory...
Well that was a real bloodbath and a fantastic day of gaming! Playing the narrative is so much more fun than a serious competition, or even friendly competitive play. Ignoring the English flankers was not easy, nor was sending the reinforcements to town, but with the smoke rising from the town, it seemed the logical place to go. And that's what makes a good game a great game!!!
Chris had some phenomenal dice, and I wasn't expecting him to speed straight in (he had enough cannons on board to pepper my defences for a turn or two) but those Sea Dogs with their Brawlers special rule (any hit of a 10 allows another attack) absolutely smacked their Spanish counterparts. Definitely, they were top Dogs! And yet again, those Filibustiers and Freebooters with Ball and Shot ploughed through my men... As for the valiant Captain Alexander Joseph, he didn't succumb to his wounds and would doubtless return as Morgan's right hand man. Although from the report it may seem Morgan just strutted about looking for rum, he was actually very pivotal in the battles in town, with his long range and 3 command points, he allowed units double activations and reloads, and his lucky trait kept Chris with fortune points even at the end!
With the second wave of Blood & Plunder from http://www.firelockgames.com/ on the near horizon, Chris and I cant wait as there are campaign rules, and special rules for narrative character figures (like the Governor, Spy etc) so having the Priest trying to stop the English in the midst of a firefight seemed so in character. Any English shot that rolled a one could potentially hit the priest, and Chris duly obliged. Chris will have native Caribs to use, while I will have a massive Galleon! He wont sink that with one broadside, that's for sure!!!
Not that it matters in game terms, but purely out of those that maybe interested, the death toll of whole units consisted of:
English : 1 unit of 10 Sea Dogs
Spanish: 3 x 10 Milicianos, 1 x 8 Milicianos (Governors Guard), 1 x 8 Miliciano Indios, 1 x 11 Lanceros, 3 x 6 Marineros (as one had been recycled), 1 x 7 Marineros, The Governor, both Captains, a priest, the "Sirena" and "San Pedro".
Thanks again to Darren Smith and the Retford Wargames Group for letting us have such an enjoyable day out, and for all those that expressed an interest in the game, the models and the table.