Board & Swords is a spacious store, with on site parking and plenty of A Song of Ice and Fire Stock, as well as plenty of other systems. https://www.boardsandswords.co.uk/
It was also a good chance to put faces to names from the community that is thriving in the UK, particularly in the Midlands, with Board in Brum having a 26 player event the day before.
Ian Mann and the staff were very friendly, had Dominoes in for lunch and ran a very tidy event with prize support that allowed a wee something for everyone. Excellent, and a very chilled event with both Raymond and I having 3 excellent games with guys who play the game for the game!!!
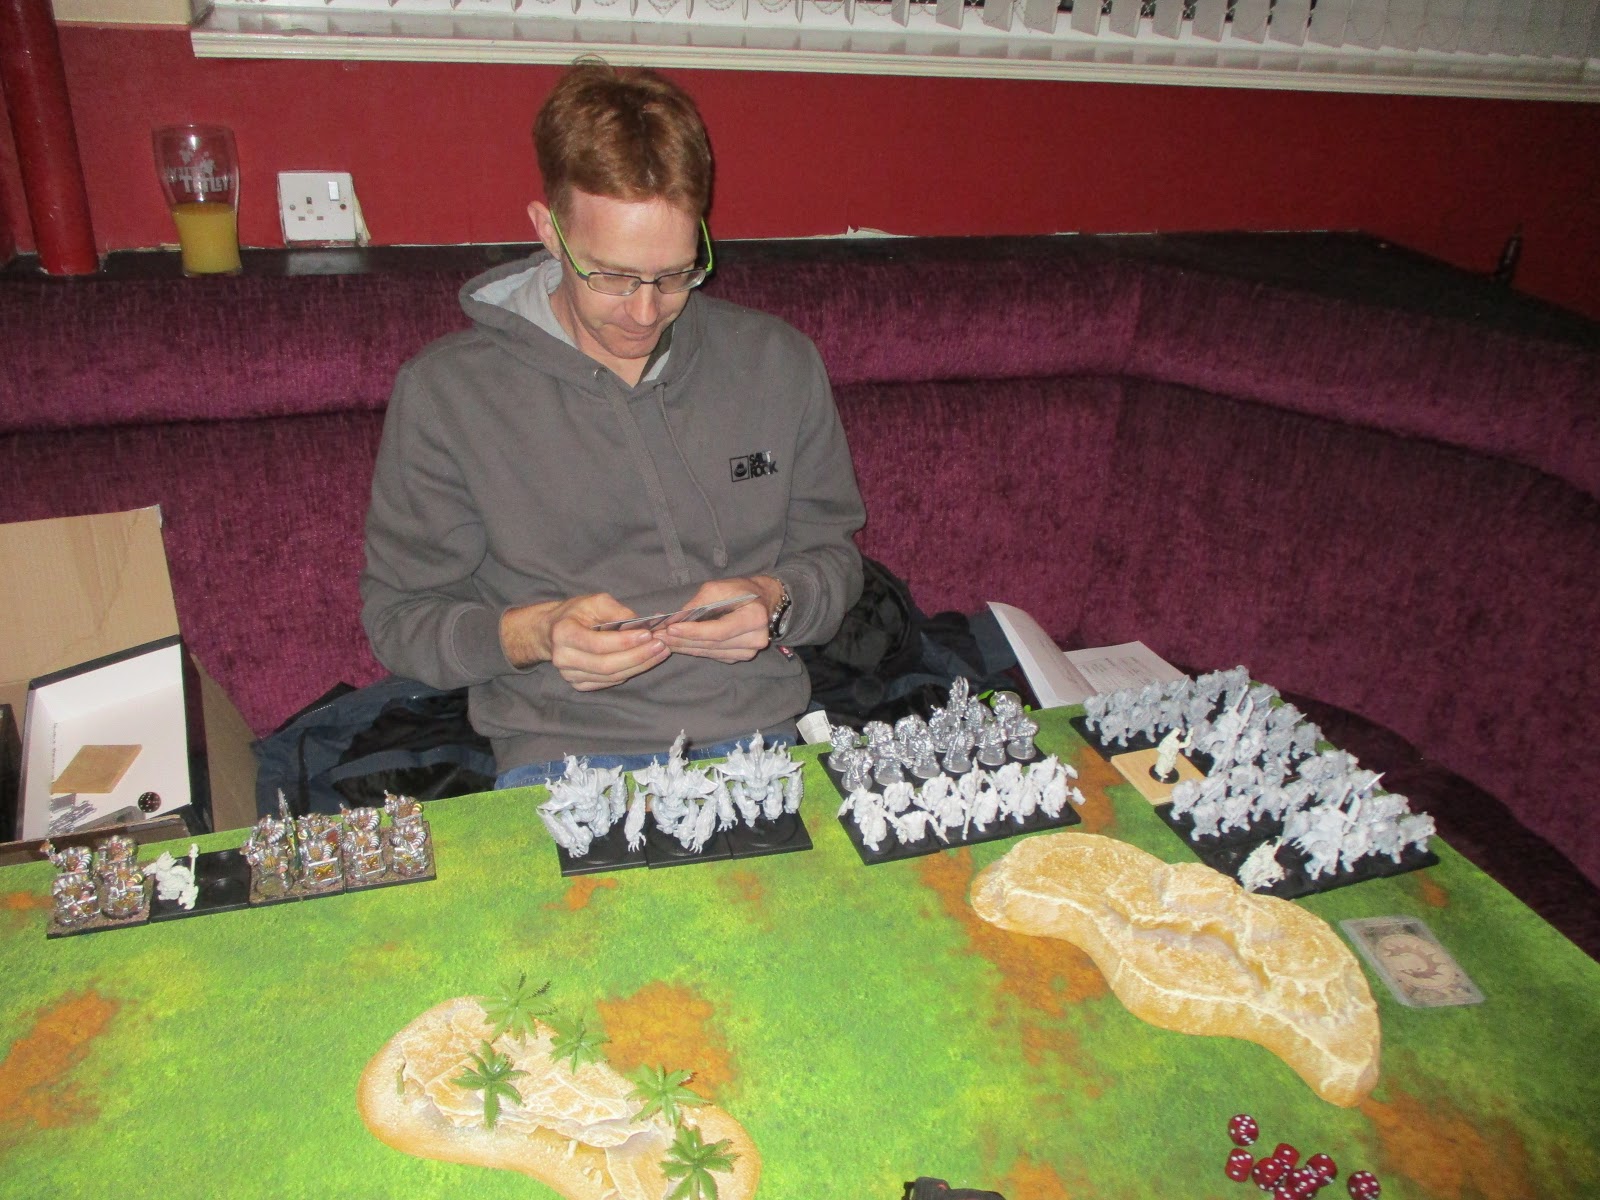
The battle reports will be shorter than usual, on account of the poor pictures (as I took my camera but I didn't have the battery in it as took it out for recharging and forgot to put it back in) and also that in the cut and thrust of battle, you forget to take pictures and remember things...
I had two lists, both with 7activations, as follows:
List 1
Gregor Clegane (C) in Lannister Halberdiers
Sandor Clegane in Bolton Blackguard
3 x Mountains Men
NCU's: Tyrion and Cersei
List 2
2 x Poor Fellows with Champions of the Faith
Sandor Clegane in Bolton Blackguard
Knights of Casterly Rock
Bolton Bastards Girls with Stormcrow Lieutenant
NCU's High Sparrow (C) and Tyrion
GAME 1
Ciaran Kelly using Starks in Fire & Blood scenario
Ciaran had the list below:
Umber Greataxes with Brynden Tully (C)
Umber Greataxes with Bran & Hodor
Summer
Tully Sworn Shields with Rickon and Orsha
Shaggydog
Stark Sworn Sword with Syrio Forel
NCU's: Sansa, Arya and Varys

Ciaran's army was nicely painted (bar one unit of Greataxes) and was as much in yer face as my Cleganes (which I'd opted to take for this game)

I marked both Greataxes, while had my right Mountains Men got one as did the Blackguard.

I think Ciaran went first, with Arya on the letters while I had Cersei influence and hit Hodors Greataxes...

Good result, though he did heal up on the money bags...

After much manouvering and jockeying for position, the Mountain's Men failed a charge on Hodor. But Hodor decided to charge back with last activation. My Set for Charge dropped them to 2 models and they failed their panic test.

Although Summer went mad and flanked me, while Syrio's unit had some nasty shenanigans counterplotted on my left, though Shaggydog held them in place.

I think Sansa allowed another charge, and with Syrio, and various other combos, the Blackguard were no more...

Score was 4 VP's to 3 for Lannister, end of Turn 1
TURN 2
With lots of options, I decided to free up the Mountain with Cersei on the swords allowing a free swing at Summer. However, Varys negated the zone. I have to be honest, I've never really faced Varys and when I gave my opponent would generally roll a 1 or 2...

The Blackfish and his Greataxes smashed into the Mountains Men and wiped them out in one fell swoop. And although I finished off Summer by charging through the spikes with my other Mountains Men, thus freeing up the Mountain and his Halberdiers, I was on the backfoot now...

The Tully Sworn Shields didn't want the Mountain in the flank, so repositioned. When I charged in the front, Set for charge and Orsh really stymied my plans. As did Varys by blocking Tyrion's zone, as I was sitting on Orders to Destroy!!!

As you can see, my ranks were seriously depleted all over, but I had hit the Starks hard too

Shaggydog flanking my Mountains Men gave me some joy at the end when I double sixed the saves...

But going into Turn 3, it was bleak with the Starks 8 - 5 ahead...

TURN 3
Arya gave her free manoeuvre to Bryndens Greataxes to avoid the spikes, but took the swords allowing Syrio to finish off the Mountains Men

I got my Orders to destroy off as Ciaran stopped Cersei from influencing...

But alas Brynden played Set for Charge and paid me back in spades for killing his other unit, with the panic failure wiping them out...

The Sworn shields then finished off the Mountain, for a 15 - 5 Stark win...

And a complete massacre by end of Turn 3...

Not much to say, we both seemed to do the most damage when we received the charges. 3 Set for charges by the Starks was nasty, but Ciaran was good fun to play against, we were both pretty chilled about things (like forgetting to add with Commander) but we did after the fact as we remembered. A bad satart, bad a great game that was really bloody!!!
So as we broke for lunch, just again to say that Derbys Premier gaming venue is Boards and Swords

It's on a wee industrial estate near the Derby Cricket ground (and to the right of YESss electrical)

And they have plenty of A Song of Ice and Fire stock... And we had Dominoes for lunch!!!

A Game of Thrones scenario v Dan Jackson with an 11 activation Freefolk list. I opted for the Mountain again...
Dan had the following force:
Harma (C) in Cave Dweller Savage
Cave Dweller Savages
Spearwives with Jarl
6 x Raiders
NCU's: Styr and Mance Rayder
9 Units and a good solid horde list. Figured this might be difficult given their numbers and insignficant and 5 objectives to take...

We set up as below, with all 3 of my Mountains Men setting up left, and the Blackguard and Halberdiers aiming for a centre run to seize the objective and take the fight to the Freefolk. Admittedly, the Freefolk looked daunting by covering the whole horizon...
TURN 1
NCU's first allowed extra cards and a failed panic on my middle of three Mountains Men which cost them a rank, while my Blackguard stole an advance on the centre...

My army marched as the Freefolk marched or advanced en masse...

TURN 2

As the horde started to encircle, I pushed up aggressively, scoring 4 VP's to 2 at end of turn... But I lost several Blackguard to panic for holding the 2 VPs in centre...

TURN 3
After the Blackguard got flanked with some card shenanigans, leaving the Hound all alone in the centre, I got Orders to Destroy off with Fury of the Mountain and annihilated a unit of Raiders...

before Overrunning into a second and taking them down to a single rank on the objective...

As the Cave Dwellers finished off Sandor, his brother and his Halberdiers got a second Order to destroy off, clearing the Freefolk from the centre objective...

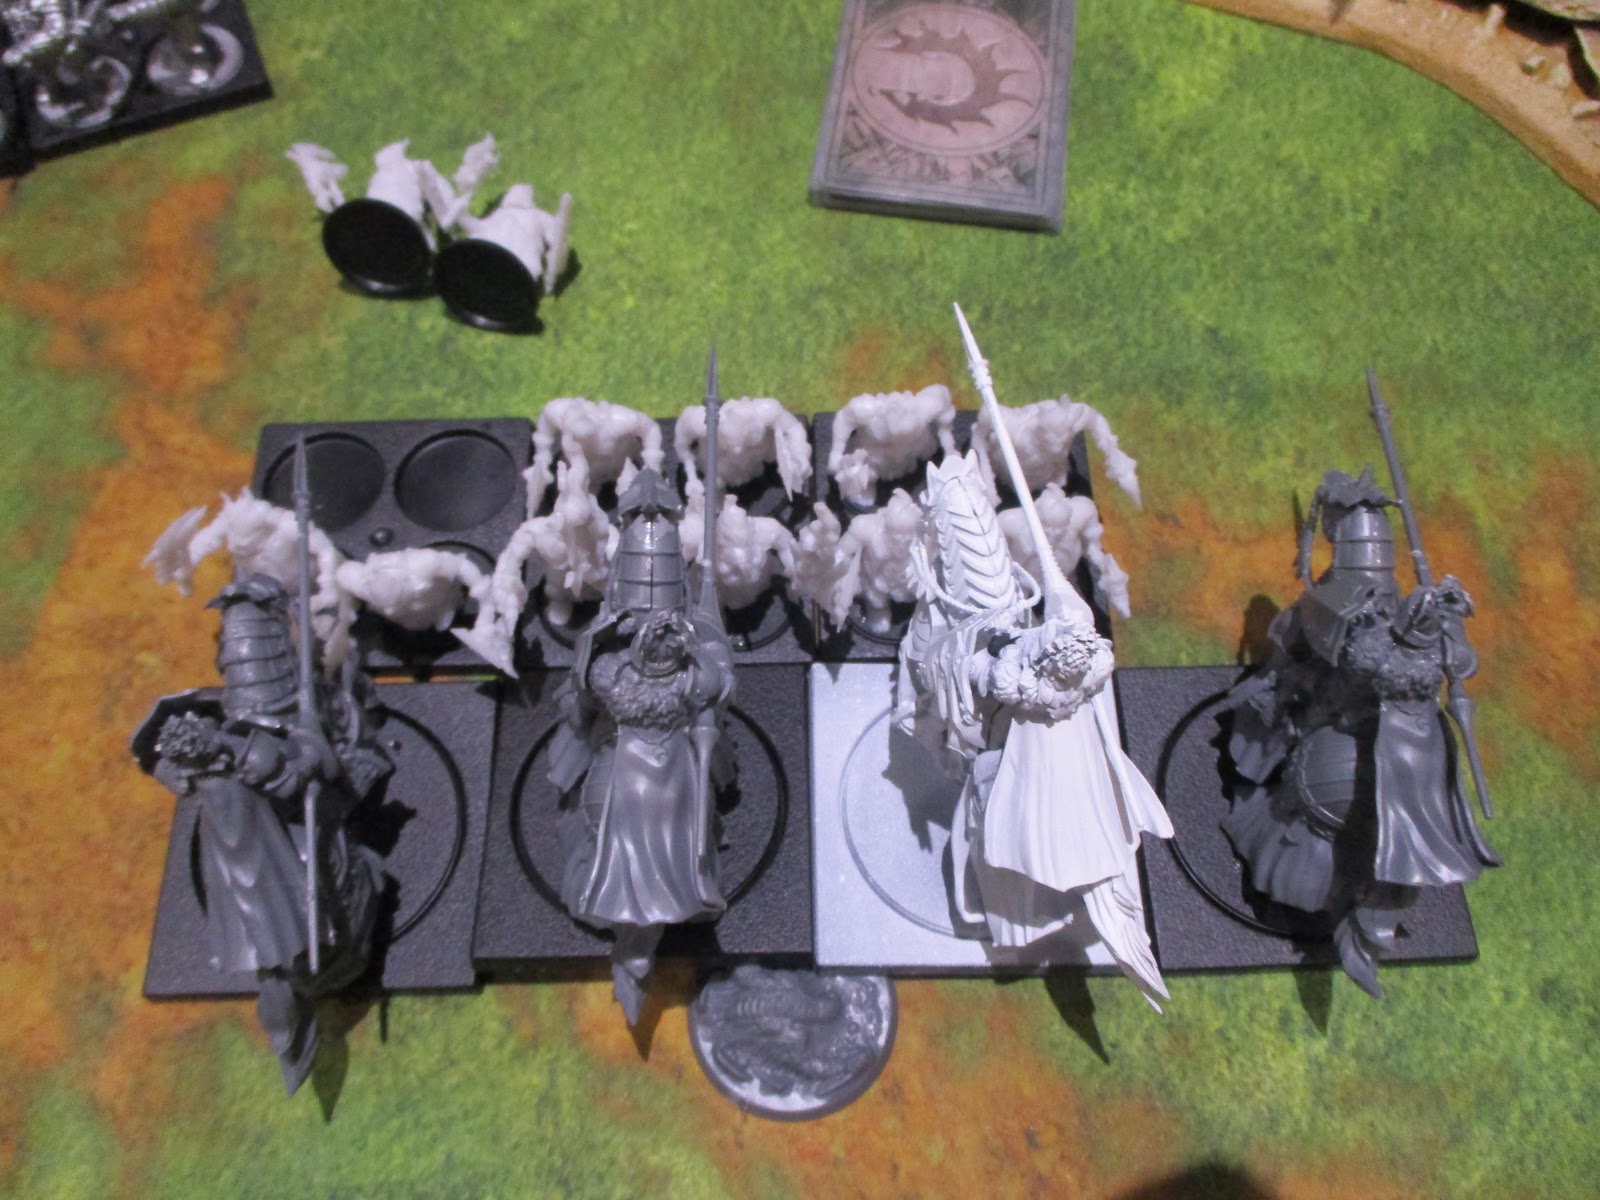
Nice blurry picture, and the last few activations were the highpoint of the game for me as they did surge onto the centre objective. But the horde was still great than me...


And as they closed in, I lost my Mountains Men on the rear objectives to panic!!! Still, I cleared the objective nearest the Freefolk line

Going into Turn 4, I was ahead 8 VP's to 6 VP's
TURN 4
And despite valianlty charging whiel outnumbered, I coundt kill the last of one unit of raiders and surrounded and alone the Halberdiers and the Mountain were razed from the board

As Spearwives came on at end of turn 3, I needed a miracle...

As the horde spread out onto objectives and spearwives leaving a lone man, it was all over...

Valiant effort, but a 10-9 loss and a good victory for the Freefolk….

Dan was great fun to play again, throwing men away with gleeful abandon and undaunted by the damage I did as he systematically outmanoeuvred me to bring his numbers to bear. Still, losing a whole unit to repeated panic assaults was particularly cruel on me...
I took time out to nip over and see how Raymond was doing. He had won his first game well and was in the midst of some Lannister bashing, and this is just before Renly single handedly fought off a whole troop of cavalry (although succumb in the end against a High Sparrow list)

My last opponent was Johnny, running a Ramsey Snow neutral army. Raymond played him in game one, and oddly enough Raymond was facing Dan who had just slapped me.
Game 3
A Clash of Kings
I opted for my High Sparrow list, as I had brought it and the Cleganes weren't up for it today so far...
Johnny ran the following:
Ramsey (C) in Bolton Blackguard with Reek
Bolton Blackguard
Bolton Cutthroats
Bolton Flayed Men
Stromcrow Archers with Stormcrow Lieutenant

TURN 1
We both started off with our Blackguard in the race to the centre, but i was supported by Knights of the Rock as opposed to some mercenary Stormcrow archers...

TURN 2
With first activation I smashed into the flank as the Stormcrows repeatedly fired into my cavalry, with a Bolton card, the bags and swords before double crowns from me and their own cards wiped themselves out...

I also took the horses to advance up my Blackguard before charging home. Ramsays unit held

Reinforcements appeared, with teh Flayed men hitting the KoCR in the rear, wiping them out.
My blackguard looked vulnerable, and we ended turn 2 with me ahead 2 VP's to 1


I also hit the Flayed Men in the front, while the Blackguard had to face an imminent Cuthroat charge.

The Blackguard held, and with the help of the horses, my Bastards Girls were able to move up, shoot then charge into the flank and wipe out the cutthroats. I failed a charge into the other Blackguard on my left, as the Stormcrows returned and started showering my Poor fellows with arrowfire...

Sadly, my phone charge ran out there... With me holding the centre with a tough unit, and the Flayed Men bogged down, the game really came down to attrition as we recycled units. My Bastards girls flanked and charged the Stormcrows and wiped them out before being hit by the recycled cutthroats. I lost two units of Poor fellows in return for the Flayed men and Ramsay's Blackguard again by end of turn 5, and with objectives the game ended 11 - 9 to the Lannisters
Shame the pictures weren't there, as it was quite tense as we ground each other down and in the end it was close run thing.
So to sum up, a great days gaming. I finished ahead of Raymond by means of alphabetical order, as we both had 1 win and 25 battle points.
The top three are shown below, with the winner fielding the following list:
Lannister Halberds
+ The Mountain (C)
Mountains Men
+ Preston Greenfield
Mountains Men
Mountain Men
KoCR
Cersi & Pycelle NCUs.
Not a million miles off my Clegane list, but I'm obviously just duff!!!
Top 3 from left to right: 2nd Place Carlo Conner-Hill, 1st place Chris Eustace, 3rd place Sam Shaw.