With the Allies having won the last round, the campaign result was still in the balance. I hadn't faced Jamie Sanchez before but intelligence said he would field some ghurka's, so I decided to stick with my "Defence of Italy" Fallschirmjager, although this meant no flamethrower. I was defending in Envelopment and chose the right side of the board below.
 |
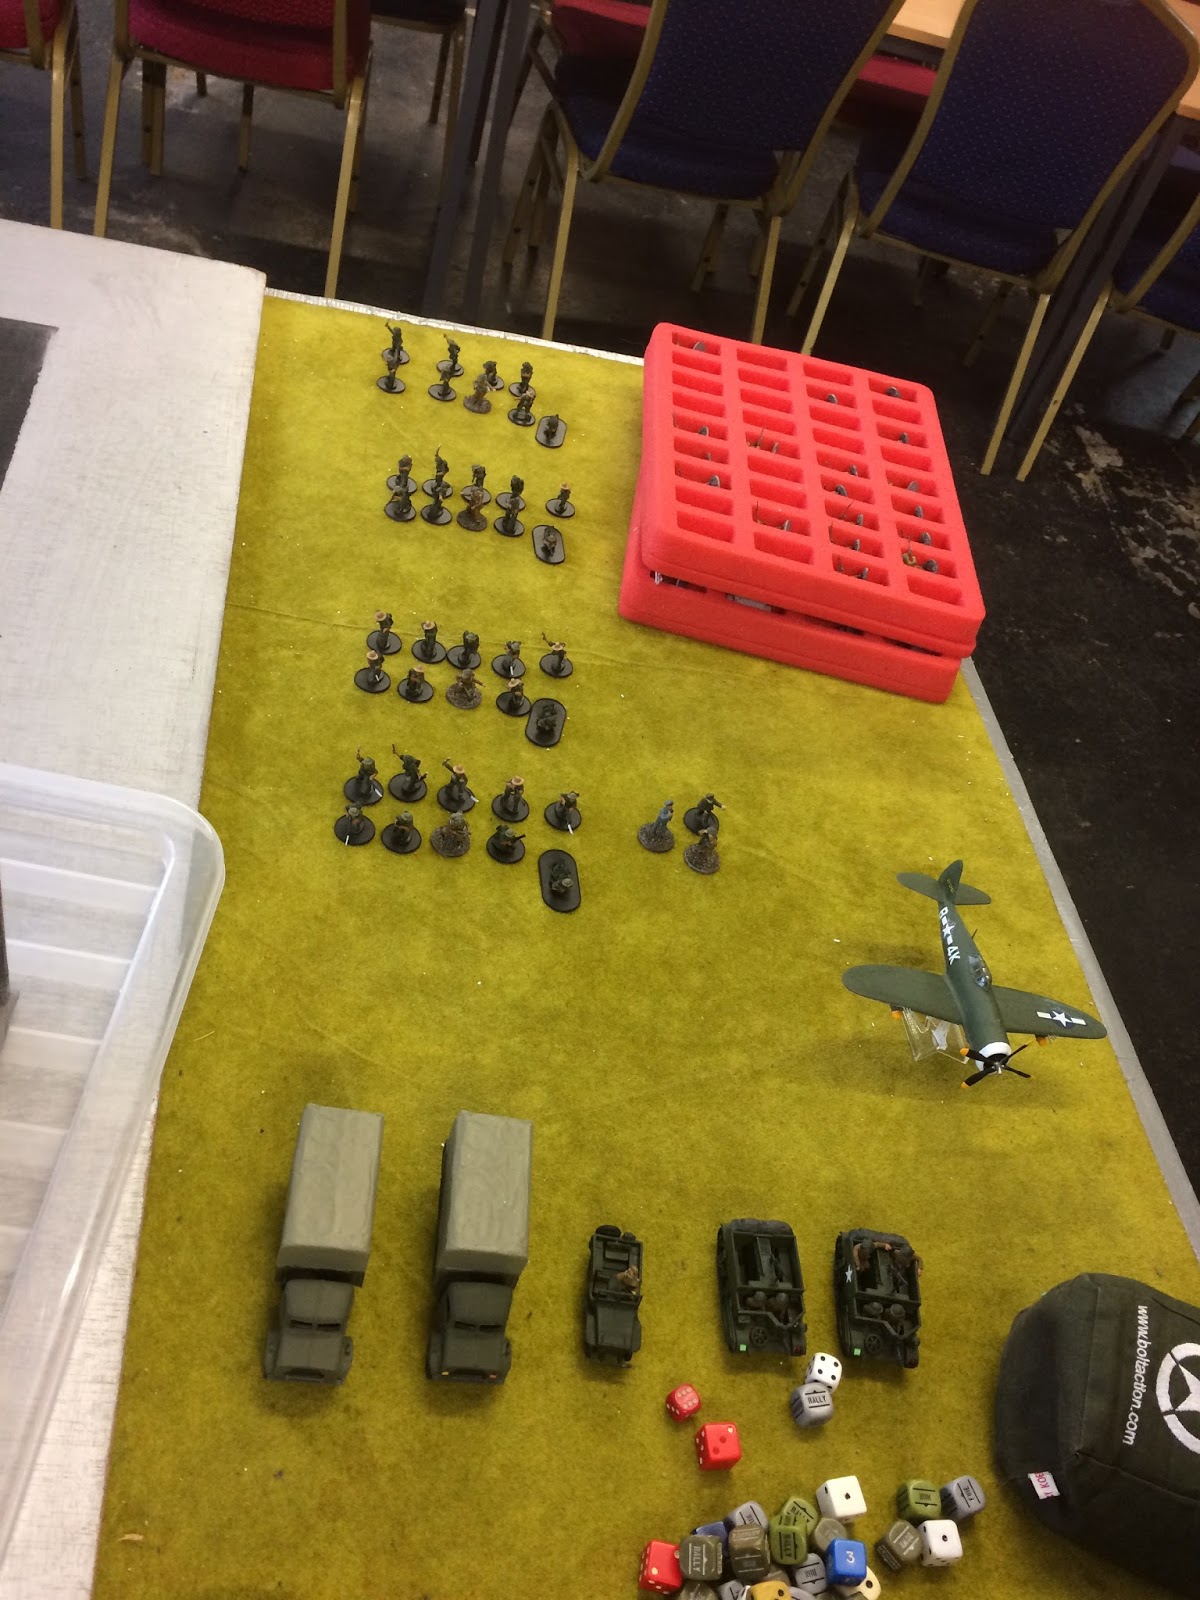
| The town of Albano |
FORCES
Jamie Sanchez's British and Commonwealth
HQ
Regular 2nd Lt
Regular Free Artillery Observer
Regular Air Observer with P47 Thunderbolt "marker"
Troops
4 x 10 Veteran Ghurka Riflemen
2 x 5 Inexperienced English Riflemen
Transport
2 x Regular trucks
2 x regular Bren carriers with extra LMG
1 x Jeep
National Characteristic: Bloodcurdling Charge (I couldn't defensive fire)
Fallschirmjager
Veteran unless stated
HQ
2nd Lt plus 1 with SMGS
Medic
Troops
3 x 5 FJ's with 1 SMG, 1 LMG
7 FJ's with 5 SMG's and 3 Panzerfausts
1 x 8 Luftwaffe Feld-division, 2 SMGS (Inexperienced)
Support
MMG team
Sniper team
BMW 75 with MMG sidecar
STuH42

DEPLOYMENT
For some reason, I elected to take the side with only one straight road on, leaving Jamie with two, which given the transport he had was a bit dim... But with a wood and wheat fields on each flank, he wouldn't be driving quickly down the flanks, so I set up all 3 LMG squads centrally, one on my right in a wheat field, two more behind the village. I also had the MMG 2nd floor on my left, while the Luftwaffe cooks trying to survive in the floor below. My sniper took up central building 2nd floor. With the Brits on in first wave, I decided to keep everything else in reserve.
The preliminary bombardment managed to put a pin or two on all units, killing two FJ's including my right squads LMG.

TURN 1
Sure enough, the British sped up the roads, with a truck on each, advancing 24" and a ghurka squad then running out on my left, within reach of the Luftwaffe next turn. My MMG failed to activate despite the golden opportunity...

The second truck in the centre...

And the ghurka's it carried, who advanced and killed another of my right squad...

On my left, the bren carrier with 5 troops advanced up the road, firing at my down MMG team in the building... I wasn't happy that's despite needing a 7, Jamie rolled the pair of sixes needed to score a hit and add another pin!!!

I was even less happy that he followed it up with the requisite 6 to wound, and a fourth to exceptionally damage and take out the gun!!!

The second carrier came up on my right, its pair of LMGs taking out another of my right squad and putting me on 4 pins. So I rallied 2 of them, and Jamie pressed home his advantage with running another ghurka squad on towards my outnumbered right.

My Luftwaffe squad managed to motivate and kill two ghurkas, which I felt deserved a photo as they were about to be kukri-ed...

My left LMG squad failed to advance, but my central one did, advancing and inflicting a wound on the ghurka's at the central crossroads. My sniper added a second pin to the ghurka's on my left...
The British officer and observers came on, the Lt in the jeep advancing behind the truck, the air observer central and out of sight of the German sniper. The artillery observer advanced ran on my right, again using buildings to avoid sniper fire. The 4th ghurka unit ran up centrally, to support either of the truck borne squads if required.
So at the end of turn 2, I had two ghurka squads in my face, and my on board firepower was an LMG and MMG down, with one unit failing to activate... I felt I was in trouble.

TURN 2

Still seemed to be the case, as below, the footslogging ghurka's both ran up, making the town centre look a bad place to be a German. The truck then ran off the board, giving Jamie and early 4 victory point lead with my MMG gone. My central LMG squad added a pin to the crossroads ghurkahs and took out their NCO, while my sniper missed the left squad... My two survivors on the left went down to avoid the bren carriers LMG. My officer came on behind my left buildings, allowing the left LMG squad who had just been targetted for an air strike ran up close to the two ghurka units. I advanced the BMW 75 on and it took out the NCO of the 2nd from left ghurkas. The medic came on centrally. The British left bren carrier advanced but missed the BMW 75, while the artillery was called in to eradicate my right flank and the air in to target the left LMG squad.

With both of them used, I brought on the STuH42, advancing up my left road and toying with which "down" ghurka unit I should fire at and probably miss... then I thought, oh, the Bren carrier could get hit on a 5+. And I spied the officer and the jeep, sitting at the back and waiting to advance and motivate his troops. So one medium howitzer shell later, the jeep went up and the LT along with it! My Luftwaffe squad caused no casualties but put a pin on the left down ghurka's

TURN 3
Have to say I was happy still to have a fighting chance come turn 3... The skies were clear, so no air strike. The artillery was pretty poor, put a single pin on the medic, the centre LMG squad and the remainder of the right LMG squad.
 |
| End of turn 2 |
 |
| End of turn 2, with German line reinforced |
Turn 3
Well, first dice could be interesting. Allies, and with 3 pins the left ghurka unit fail again to assault! 2nd dice, the second left squad, without NCO and with a pin, roll a 9 to assault... Jamie was not overly happy!!!

Still, I was pretty relived and buoyed by this opportunity and ignoring those two down squads, the BMW 75 advancing around the buildings and reduced the crossroads squad to 4 men. (They tried to assault the BMW later, but perhaps unsurprisingly failed!)

With the big squads harder to hit, and the truck backtracking down the road, the STuH42 advanced up for a point blank shot at the carrier. But having moved, 3+ was needed!

The carrier and its 5 inexperienced men, moved away, sneaking up behind the BMW and causing it to explode...

The sniper and advancing Luftwaffe squad added pins to the left squad, while the LMG squad assaulted the carrier. The inexperienced Brits leapt out...

And died before their boots hit the ground!!! Elsewhere the ghurkas on the right advanced into the ruins and took me to two men in the centre LMG squad, while the carrier reduced the left LMG squad to the NCO... The observers both ran up to try and exit the board. I kept my FJ assault squad off the board for another turn. The left Bren carrier was captured at the end of the turn.

TURN 4
 |
| Start of turn 4 (my left) |
 |
| Start of turn 4 (centre right) |

The unit hit the deck, and two survived although heavily pinned. The left ghurkas also took two, while the other nearby unit took one... My units near the actual plane didn't take anything, bar one pin on the 2 remaining in the centre LMG squad.

The 2nd left ghurka unit motivated to assault the shell shocked left LMG survivors, easily killing them and consolidating up to the hedge... My STuH advanced up and missed the left ghurka unit with 7 pins, while the truck repositioned centrally onto the road, hoping to dash up and off...
The right ghurka unit advanced out of the ruins to kill off my centre LMG squad, while the crossroads ghurkas failed again and stayed down.


The artillery observer ran up, skirting the ruins, while the air officer ran up the centre road, just behind the downed ghurka's and near the truck. 7 units facing off against a lone NCO. Time for the assault squad, advancing on and firing two panzerfausts at the carrier, both of which missed while the rest of the squad blazed away at the healthy ghurkas, killing one. Not impressive!

The medic redeployed left to avoid being over run. The sniper missed the left ghurkas which was a shame...

as the German officers and Luftwaffe had brought them down to 6 men with 9 pins!!!

TURN 5
So first dice out, and its the Allies again... The ghurkas roll to assault my assault squad, and promptly FUBAR, running away and blocking the road for a truck dash! Simply unbelievable!!!


Action switched to my right, with the two ghurkas on the left having activated. The bren carrier backed off and pinned my assault squad, while the inexperienced Brits did the same and killed German para. I retruned the compliment, missing the carrier with my last 'faust and merely pinning the Brits. The truck did move up near the carrier later in the turnm while my lone NCO advanced and SMG'd the Artillery observer.

Switching back to my left, the officers killed another ghurka, while the sniper added a pin. They were easier to hit having rallied so my Luftwaffe aimed to add another pin to put them back to nine, but in an awesome display of firing, they managed 6 kills on the remaining 5 men!!!
 |
TURN 6
 |
| TURN 6 START: CENTRE RIGHT |
 |
| Left, start turn 6 |

But being sympathetic didn't stop me targeting the new now left ghurkas by the hedge, killing 4 with the STuH 42 and putting on 3 pins up to 4. I then advanced up my inexperienced Luftwaffe, who got 5 hits and erm, 4 6's... the lone remaining ghurka surrendered!!!

The crossroads ghurka's finally managed to pass a test, their first move since turn 1, and ran downstairs of the sniper team. My officers moved up and added a pin on them even in the building with smgs. My left flank was secured!

Om the right, my solo NCO died to the Bren carrier, having advanced out to stop it running off the board. The inexperience Brits went down to avoid dying by SMG fire from the assault armed FJ's.

There was a chance of a seventh turn, but the roll was in my favour and the game ended! 14-8 victory to the Axis, Albano had been held...

AFTERTHOUGHTS
Well, the pictures of the dice say it all. That was looking like being a very short game which I had no hope or right to win, but it turned out to be a stalwart defence for me and a stalled advance for Jamie. I was in deep trouble, and Jamie's dice saved me. He had a tough infantry force, and it was well suited to the mission. Taking out my MMG was incredibly lucky, but that was it for his dice.
7 failed assaults gave me a victory, and if he'd eve made two or three of them I would have lost. I had no right to hold back his troops and they would have battered me in close combat. But exceptional shots taking out half his NCO's early on helped, and my dice came good in the end, especially for the former Luftwaffe, now fully upgraded FJ's...
It was an awesome game, tense and good fun and Jamie handled his poor rolling well, even in the face of my undiluted euphoria...
No comments:
Post a Comment