Merseyside Bolt Action Spring Campaign: Anzio
FJ's v Regular British
So a new campaign kicks off, which is nice as its been a year since last one (could hardly believe it) and way things are shaping not going to get to many Bolt Action events this year and not playing to many games of Version 2.
But babbling already, to business. The first battle was based on the Factory at Aprilla, a meeting engagement scenario on the board below. As I'd set up the board, I gave my opponent Matthew the choice of edge rather than rolling for it.

Matthews well painted force was as follows:
British army, all regular, rapid fire
2nd Lt +1
Free Artillery observer (Not pictured as on board)
3 x 10 men with SMG and LMG
1 x 5 men with SMG and LMG
Piat Team
Light mortar team
Sniper team (not pictured as on board)
Bren carrier with additional LMG
Sherman Firefly
Nice balanced army, although Firefly too expensive given my lack of armour. But then Matthew wasn't to know what I was taking, and besides, he likes the model... And it was a real pain!

Despite Matthew posting on the Facebook page, I'd not registered he was my opponent and I went for my original Bolt Action force, my veteran Fallschirmjaeger.
2nd Lt +1
Medic
2 x 7 FJ's with 6 SMG's. 1 Assault rifle and 3 Panzerfausts
4 x 5 FJ's with 1 SMG and 1 LMG
Sniper team (Not pictured as on board)
MMG team
Medium Mortar team
BMW 75 with sidecar
Lots of firepower and too sturdy assault groups

Matthew won the roll of for Forward Observers, and placed both the Artillery observer and sniper team in the factory ruins. I took the ubiquitous church steeple.
Turn 1
My sniper took a pin from his British opponents, and I decided to avoid the obvious retaliation and promptly missed the Artillery observer...
A ten man squad of Tommies advanced on behind hedgerows on my right and opened up on the church towers, but not hits..

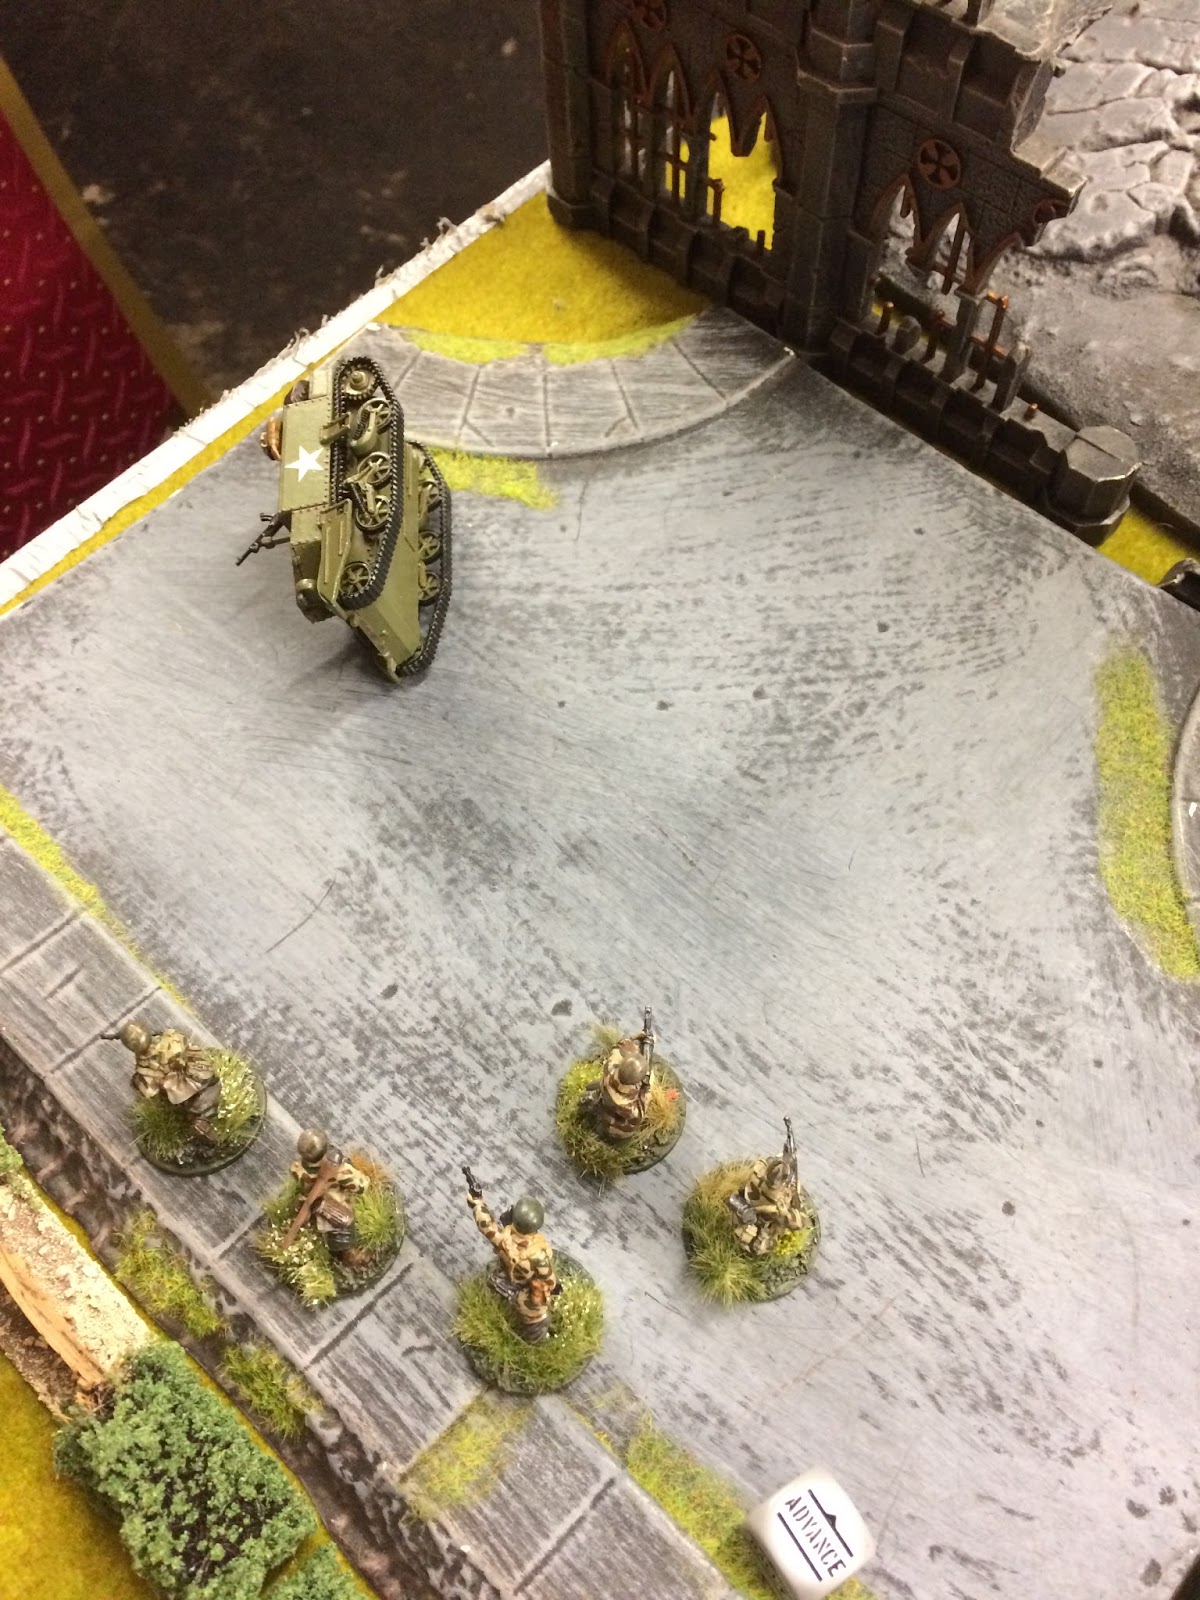
All of my squads ran on, with a 5 man LMG squad running for the 3 houses, and a 4th up behind the church. The British took the factory ruins with a squad and the wooded park, spreading out across the board. I sent both my assault groups up behind the 1st and 3rd house, while MMG and BMW went to the right of the church to keep the British squad on my right occupied. The Sherman also was on my right, advancing and missing the sniper so only one assault squad with their panzerfausts would be a threat to it. The Bren carrier and its half squad went on the centre left, advancing on and drawing first blood as an FJ fell to twin LMG fire. The Brit light mortar was in the wooded park to assist the squad there and piat and officer crept up in the ruins near the Firefly.
Halfway through turn 1 (British sniper, 3rd floor, 1st window on right)


Turn 2: "Germans in the open, fire for effect!!!"
The veterans Germans hit the deck and though shaken, hadn't received a casualty. However, the medic took a pin, the Lt, 2 x 5 man squads and the right assault squad were all given 3.

Realising the German centre weren't going to be doing much this turn, I took out the British sniper team with mine, and then ducked as the right rifles squad zeroed in again on the church after advancing... The snipers remained unscathed, while the MMG team which had ran into the small barn on my extreme right lost two men to a 17pdr shell from the Sherman! The BMW peppered the hedgerow and inflicted a casualty on the right hand British unit, which was hit again for no damage by the small LMG squad behind the church

On my left and centre, my mortar missed the squad sin the ruins who put a pin on my right assault squad. The British light mortar was just out of range and the British squad on my extreme left in the park went into ambush... All pinned units successfully rallied in turn 2, bar the medic who ran behind the house and counted his bandages. My left LMG squad put a pin on the bren carrier and squad, while the left assault troop ran into the extreme left building, receiving a pin from the ambushing Brits... The British officer team advanced up behind the Firefly, to assist the squad with 2 pins on my right.

Turn 3 I saw a lot of shooting from the British for little return, the sniper being missed as an AT shell went high and wide, and the pinned squad failing to unpin despite the exasperated orders of the 2nd Lt. My 3rd from left LMg squad put another pin on the bren carrier and squad, who decided to run out the carrier and into craters in the road between the factory and the houses. My 2nd left LMG squad ran into the middle house. While my 1st left LMG squad put a third pin on the bren carrier, which then failed its order and retreated. My MMG solo man repositioned behind the church ready to bring fire on the centre if needed. My medium mortar scored a hit, killing two men in the factory and forcing tem to advance and affecting their aim... The British squad in the park put another pin on my FJ's in house number 1.
The last two dice in turn 3 were left to me, for both assault squads, so I did what I like to do, prayed to the dice gods to smile on me for the next turn and ran the first squad out the house to the hedge, an inch from the British squad, while the other ran straight down the centre, with a 5 man Brit squad to their left, 8 men and piat team ahead and a Firefly to their right...

TURN 4 Started with the German Fallschirmjager assault troops ready to go in...

True to form, my tactical genius (or the luck of the draw) gave me the initiative, activating and advancing my central unpinned squad. 3 panzerfausts flew towards the flank of the Firefly, but their aim was off with only one scoring a glancing hit which stunned the crew. The remaining FJ's opened up on the 5 man squad and killed 3, the remainder surrendering on the spot.

However, that was later, as I got the second dice and went up and over at the rifle squad in the park, killing 4 British for the loss of two men, and a second enemy squad was removed. The light mortar scarpered back behind the carrier which put a pin on my men.

The Brits in the ruin decided to make me pay, with the rifle squad, officer and artillery observer reducing my central assault to 3 men, thought the PIAT missed... On the right, without the tank to help and the officer diverted centrally, the squad n the hedgerows took two more pin from the BMW and the LMG squad behind the church. They went down and stayed down, badly suppressed. While the sniper missed the officer, the mortar got a lucky 6 to remove the artillery observer. The German officer and medic took charge of the British prisoner safely behind the houses, while the 3 LMG squads either in the houses or near them suppressed the British squad in the ruined factory.

The scene on the left was encouraging for the Germans...

Turn 5 With the dice pull in my favour, I decided to use the 3 remaining FJ's to assault the British officer who was too close to the sniper for him to deal with. I passed the test comfortably, but lost two men on the way in to Thompsons. Still the FJ NCO passed his morale, and took out the British officer and his mate, moving up afterwards. The Firefly crew, losing their officer close by and ears still ringing, failed to advance and retreated.

On my left, the assault squad moved into the street, two Panzerfausts obliterating the Bren Carrier while 3 smgs hosed down the light mortar...
The wounded NCO of my heroic centre squad didn't see the PIAT team that decapitated him...

Over on my right flank, the BMW added a fifth pin to the Tommies, The LMG squad ran forward confidently, ready to bag more prisoners.

Despite their losses, the Tommies in the factory stoically resisted, reducing the FJ's on my left down to 3 men. Seeing this, and realising they now held the upper hand, the three LMG squads ran out ready to seize the factory ruins...

TURN 6 The closest LMG squad took out a few Brits, who were infuriated, and promptly assaulted and wiped out the German squad. However, those that survived the hand to hand took another hail of LMG...

The brave NCO was easily overpowered by the FJ assault squad...

On the right, the close range fire of the LMG squad saw the English troops call it a day, being so heavily pinned and losing half their number. In a last act of spite, the Firefly left only the NCO standing from the German squad...

Although the Firefly could not easily now be troubled, it didn't know that and with the only infantry left being the PIAT team skulking in the ruins avoiding FJ's, the game ended with a solid Axis victory, 9 dice to 2...

Hindsight: Matthew didn't do much wrong, and the game was well balanced until turn 4 with neither side losing much til then (the Brit sniper I think was only unit out at end of turn 3). However, getting the first two dice allowed me to effectively take the Firefly out for two turns and take 15 infantry off the Brits for the loss of 2 of mine... I also had a lot of anti infantry firepower, which the British couldnt combat due to the points invested in the Firefly..
If we lock horns again in the campaign, I'll run Heer against the Brits as regular v regular would be closer I feel. But it was a good game, and need to up my AT options next time out...
Wonderful AAR...on a wonderful terrain!
ReplyDeleteBrilliant! Must've been a real blast to play, too!
ReplyDelete