We opted for 3000 pts of Spire, facing off against 1500pts of 100K and 1500pts of Dweghom playing the Breakthrough scenario. While both the Allies would have their own Warlords and Supremacies, we would alternate commands for sorting the activation decks to represent the "problems" of a unified command.
ALLIED FORCES
100 KINGDOMS (Me) 10 activations
Noble Lord (Warlord) leading 5 stands of Men-at Arms, 3 Household Knights and 4 stands of Militia Bowmen
Mounted Noble Lord with 5 Household Knights incl Standard and Leader , 3 stands of Mercenary Crossbowmen
Imperial Officer leading 3 stands of Steel legion with Drillmaster and Standard, 6 stands of Men at Arms.
DWEGHOM (Chris) 10 activations
Tempered Steelshaper (Warlord) with 4 stands of hold Warriors
Tempered Sorcerer (Fire) with Fireball with 3 stands of Hold Ballistae
Ardent Kerawagh with 3 Stands of Hold Ballistae and 3 stands Flame Berserkers
Hold Raegh with Champions Horns leading 5 stands of Hold Warriors and 3 Stands of Dragonslayers
THE SPIRE
SPIRE (Andy) 21 Activations
High Clone Executor (Warlord) Burrowing Parasites and Marksmanship leading 3 stands of Marksman Clones, with 3 stands of Vanguard Clones, 3 stands Vanguard Clone Infiltrators and 3 stands of Force Grown Drones
Mimetic Assassin with Heightened reflexes, Venom and expose Weakness (cavalry killer) leading 3 Force Grown Drones
Lineage Highborne leading 3 Avatara and a Siege Breaker Behemoth (the painted Abomination)
Biomancer with Degenerative aura and Plague Lord, leading 5 stands of Force Grown drones, with 3stands of Force Grown drones and 2 Abominations
Pheromancer leading 3 stands of Force Grown Drones and 6 Brute Drones
Pheromancer leading 5 stands of Force Grown Drones and 3 Brute Drones
The 100 Kingdoms force

Led by Boris the Impetuous, Noble Lord of the Western Marches

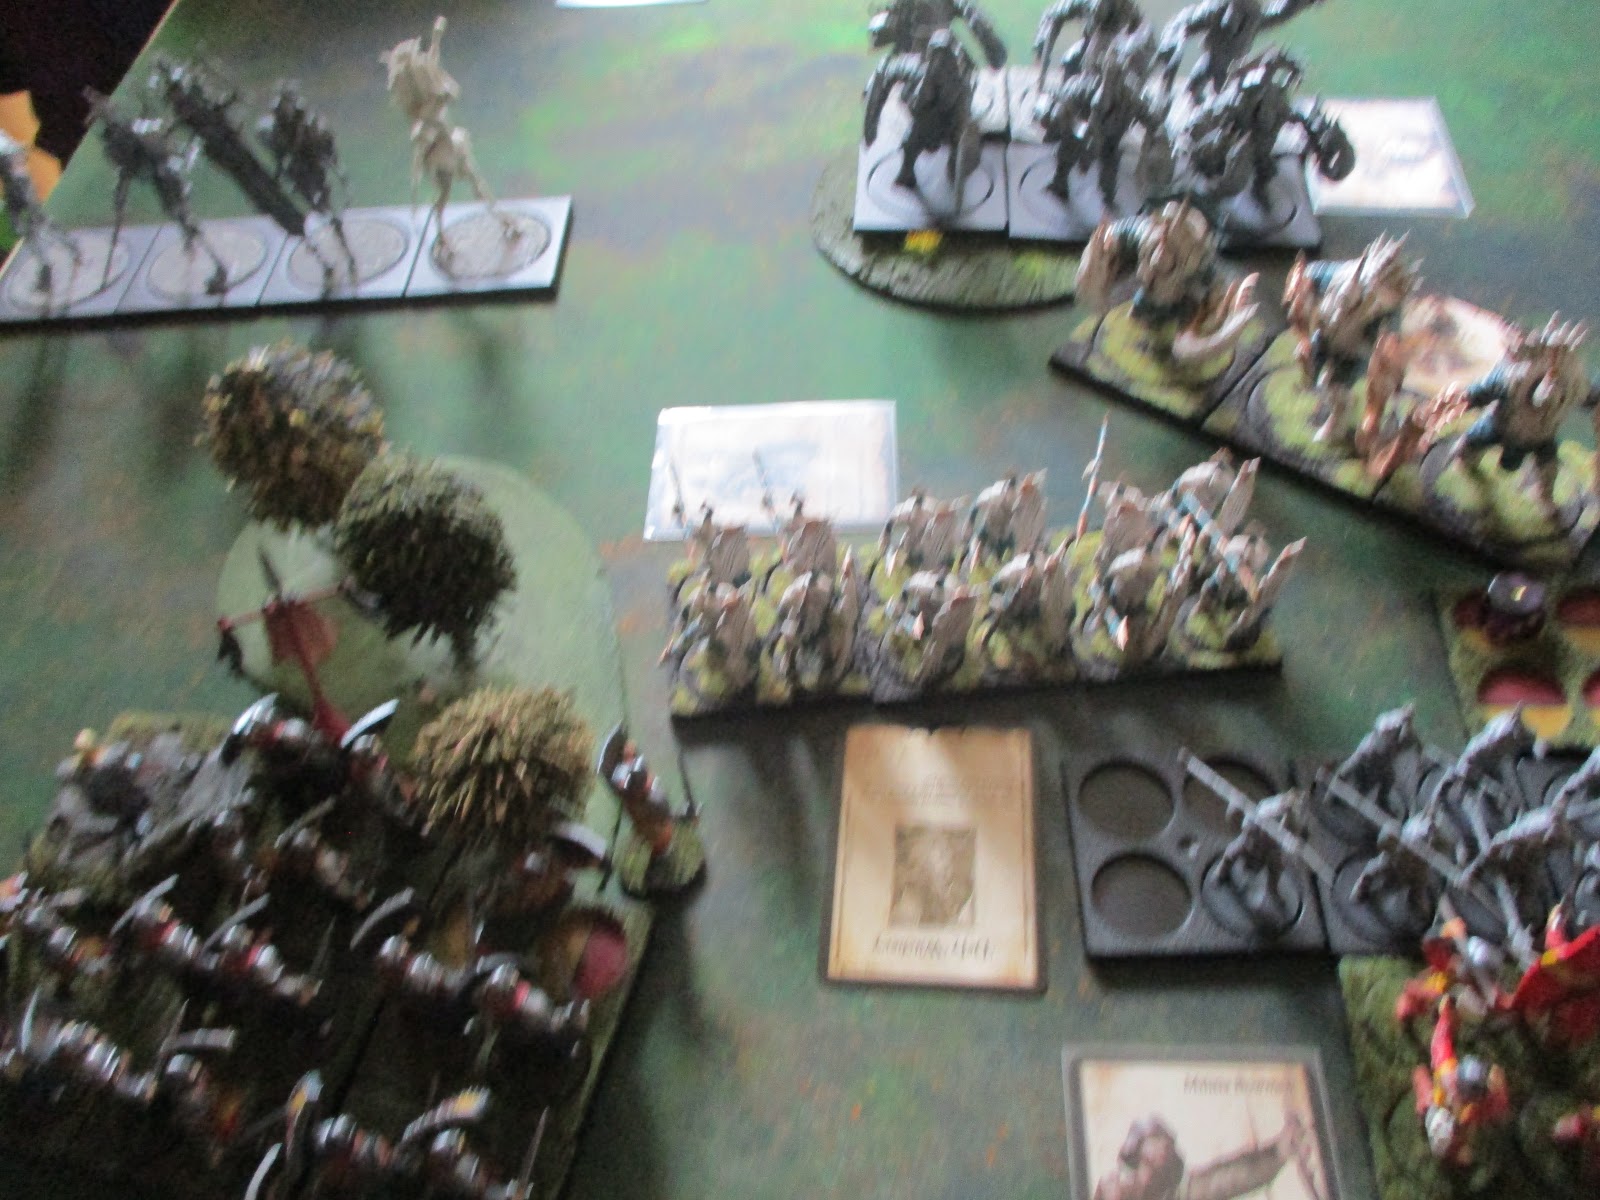
The battle field, with impeding hills and woods. For Breakthrough, there are 4 corner objectives 12" in from edge and rear with a 3" radius control area. You can score from any one only once per turn, but if you control one in opponents half you get 2 points, rather than 1 for controlling in your own half.

On the left, in Spire half the 6" circle is an objective, the sword counter on hill is another in Allied half

On the right, reversed with sword objective in Spire half and circle in Allied half

TURN 1
Two Dweghom light units of Hold Ballistae accompanied my Militia Bowmen onto the field, with one Ballistae unit advancing into the woods centre right while my Militia advanced exposed in the clear. 4 units of Force Grown Drones advanced on for the Spire

The second Ballistae unit headed for the left hill...

TURN 2
Eager to draw first blood, the Militia fired some arrows at long range after and advance,

and scored zero hits...

As more of the Spire forces arrive, their commander eagerly awaits his for the opposition to arrive...

Playing against Spire always feels like your outnumbered.

Even with some Dweghom Hold Warriors appearing along with some Men at Arms, it seemed the whole Spire Horde were on the table

With the Vanguard Clone Infiltrators storming up on the left with their Vanguard advance

Still, the Dweghom would be a tough nut to crack and shift on the right...

Whereas my Warlord led the humans on the left...

Oh good, big Brutes on our left...

And a Mimetic assassin on our right, with Clone Marksmen central to command the field with their bows...

TURN 3
Interestingly, the Spire had rolled to have their whole force on this turn, except the Siegebreaker Behemoth. In contrast, the Allies were short of my Mounted Noble lord and 5 Household knights, my Imperial officer and the Steel Legion, and the Dweg Dragonslayers...

It would soon be very congested on the field of battle...

Taking the opportunity to take some pictures while Chris and Andy try and sort their activations...

At end of Turn 2, both sides scored from the objectives on their own right hand sides...
Spire 1 VP Dweghom and 100 Kingdom Alliance 1 VP

As the Dweghom Warriors and Hold Raegh advanced slowly up to stop any contestation of the right objective, and the Men at Arms on our left advanced up impetuously under Boris to clear room behind, the Force Grown Drones advanced en-masse up the centre...

Under concentrated fire, but they ahd the numbers to shrug it off...

The Vanguard Clones and their Infiltrator brethren all sped up to confront the Dweghom Hold Raegh and his Warriors...

As if facing usual Spire wasn't daunting enough, out of the midday sun the tall, elegant forms of the Avatara were silhouetted, revealing themselves on the left, in front of poor old Boris, who was regretting his bold march up that flank...

Of course, it wasn't much better on our right, where the Flame berserkers had marched on and blocked a clear deployment path for cavalry to charge next turn into the Vangaurd Infiltrators. Lack of communication, which as we were bickering and squabbling over who was at fault, went out th window as two monstrous Abominations flanked on and marched right into our path and effectively stymied any assault first activation anyway.

In hindsight, the Allied left looked decidedly more "friendly" than the right and sparse centre, though my second Men at Arms were reinforcing there...

The Avatara look quite magnificent but they are pretty nasty to boot, especially when led by Lineage Highborne. At least Andy hadn't tooled her up!!!

At the end of Turn 3, both sides again scored from their right own half objectives,
Spire 2 VP's Dweghom and 100 Kingdom Alliance 2 VP's
TURN 4
Given how congested our right flank was, and the terrifying menace of the Abominations, I decided to do something left field, in every sense of the expression. I charged the Militia Bowmen into the Force Grown Drones in the centre left, to keep them pinned and hem in his centre while our advanced. This would also give the Abominations a change to clear some space for our right reserves to get at them... The peasants were superbly keen!!!

Alas, keen but not effective as the Spires shields worked well...

When Andy activated his Warlords supremacy, and Abomination charged into the Hold Raegh's warriors and cut down two full stands. His second unit was the small FG Drones who rolled on hit against the Militia, but they managed to jab his lucky flask. Its small things like that that get the biggest cheer!!!

His third activation was the second Abomination into my 3 Knights, who lost one and left one on 1 wound. They were our next activations, and I decided to retreat, which meant suffering D6 wounds... Given I had 5 left, Andy had to roll a 6 didn't he!!! I failed 4 armour saves, and unsurprisingly the resultant panic, wiping them out. Still, the Dweghom Flame Berserkers cheered their deaths, and prepared to charge over their corpses!!!

My Noble Lords Men at Arms moved up into the woods to face off with Spire swarms on the left flank

The Hold Warrior struck back against the Abomination, scoring 5 wounds against the Beast...

The Militia Bowmen lost half their number when the FG Drones attacked...

The Dweghom Flame Berserkers gave the Abomination a taste of how it feels to be on the recieving end of flurry, with all 12 attacks hitting.

Andy failed 9 saves, and lost the monster when he failed morale. One shot to slay the beast was very impressive, and scored the Allies an extra VP as we had the "Righteous Charge" secondary objective card...

The Brutes and FG Drones on our left combined to hold each other up as the Militia Bowmen's charge had narrowed the gap in our line...
The Dweghom were solid in facing off against the spire left thrust...

The Hold Balistae had stopped the Biomancers Force Grown Drones at the edge of the woods

My Men at Arms charged in to support the Militia Bowmen.

On the left, the Avatara activated and tried to charge my Men-at-Arms, requiring a 2+.

And rolled a 1... PHEW!!!

My mounted Noble Lord and retinue arrived to reinforce the right, though the Dweghom had cleared the worst of the Spire forces there..

The Tempered Steelshaper and his Hold Warriors also came to reinforce the objective defence

The Clone Marksmen on the hill picked off a few Men at Arms in the centre...

END OF TURN 4
SPIRE 3 VP's ALLIANCE of MEN & DWEGHOM 4 VP's
The Siegebreaker Behemoth had arrived behind the Clone Infiltrators to shore up the Spire Left

The Dragonslayers had arrived to reinforce the centre

And the Steel Legion came on to bolster the left...

Slow they may be, but they are the pride of the 100 Kingdoms...

They'd need to be to face off against the Brute hordes on the left...

With the concentration on our right, this looked like where the battle would be decided...

TURN 5
The Tempered Steelshaper points the way...

And with the Allies winning the dice off for first go, teh Flame Berserkers activated...

They charged home against the Vanguard Clone Infiltrators...

The Flame mad berserkers must have been tiring, as they only managed twelve hits this time out

But Andy's dice were proving unhelpful, failing 7 saves and all 7 resolve tests...

Only the Siege Breaker stood ahead of the frothing mouthed Berserkers


But my Men at Arms shieldwall held...


After the Abomination had struck again, with limited effect...

The Hold Raegh and his warriors finished it off...

The Dragonslayers charged in to assist the Hold ballisae...

On the Left, the congestion had eased enough to allow a move for the Brutes, followed by long range charge by the Brute drones into the Men at Arms which scored Andy a VP for the flanking manouvre with the "Ambush" card

They managed a flank charge but no attacks, only impact hits which cost a stand to fall. However, 5 of their 6 return attacks found their mark

Now it was Andy's turn to savour some good dice rolls...

The Avatara charged home through the woods to add to the problems on our left...

From their vantage point on the hill, the Hold ballistae picked of some force Grown Drones

The Lineage Highborn issued a challenge to Boris the Bold, who lived up to his name and accepted. The Highborne failed to wound, and the dashing young Lord struck back wounding the Spire hero twice...

The Steel Legion were positioned well to hit the flank of the Brutes as they charged through the Crossbowmen

9 attacks cut down one Brute, but they held on resiliently...

In the centre, the 100 Kingdoms were gaining the upper hand over the Force Grown Drones there...

The Siege Breaker Behemoth charged in against the Berserkers, killing 5 Dweghom Flame worshippers...

The Mimetic Assassin sprang to life with his Vanguard Clones, and some poor defence saves saw the Hold Warrriors and Hold Raegh overcome...

On the left, Boris impetuously challenged the Highborne to another duel, wounding it again twice and leaving it on 2 wounds. Unfortunately, the Highborne Lineage cut Boris down, and in doing so gained another secondary objective Victory point with the "Kingslayer" card...

The two victory points achieved this turn gave the Spire an unlikely looking victory...

End of TURN 5
THE SPIRE 6 VP's THE 100 KINGDOM/DWEGHOM ALLIANCE 5 VP's
The battle was lost as the 100 Kingdom Warlord was cut down, as the Spire edged ahead on Victory points. But on the field the fight was very still very much in the balance, and as we discussed the game, it was felt that the Alliance right was in a good position to sweep away the Spire left.

On our left, the Spire would probably have overcome the Steel Legion which was the only unit there that had a chance against the Avatara and Brutes...

However, on the right, the Hold Warriors led by the Dweghom Steelshaper and my Household Cavalry, with the Flame Berserkers too, could easily have trampled all over the Assassins guards and small FG Drones force in the woods...

With the Dragonslayers in the fray, and my Men at Arms with the upper hand, the centre looked secure...

A great game of Conquest, that saw two Abominations cut down and me still actually have some cavalry left alive. The Flame Berserkers were simply awesome, although the valiant sacrifice of the 3 Knights had allowed them to get the drop on the Abomination. My Men at Arms were resilient, and I do love how the Militia Bowmen seem to perform better in combat than they do in shooting. Alas, my impetuousness (usually reserved for my dismal cavalry charges) caused the Alliance loss, but I think it's in keeping with what a Noble Warlord should do when leading from the front!!!
For the Spire, we didn't get to see too much of the Behemoth, but its Smite ability is nasty, allowing no saves while the Avatara didn't get to do impact attacks which reduced their effectiveness. The Mimetic Assassin in Vanguard Clones are lethal on the charge, but not numerous enough to hold a heavy charge. The new Biomancer has a good resolve for keeping FG Drones in the fight longer, but they were in danger of being overwhelmed...
No comments:
Post a Comment